
Loading the latest stories…
Whether you’re working from the top down or bottom up, Corrina makes shaping a V-neck easy.
Corrina Ferguson6 min read
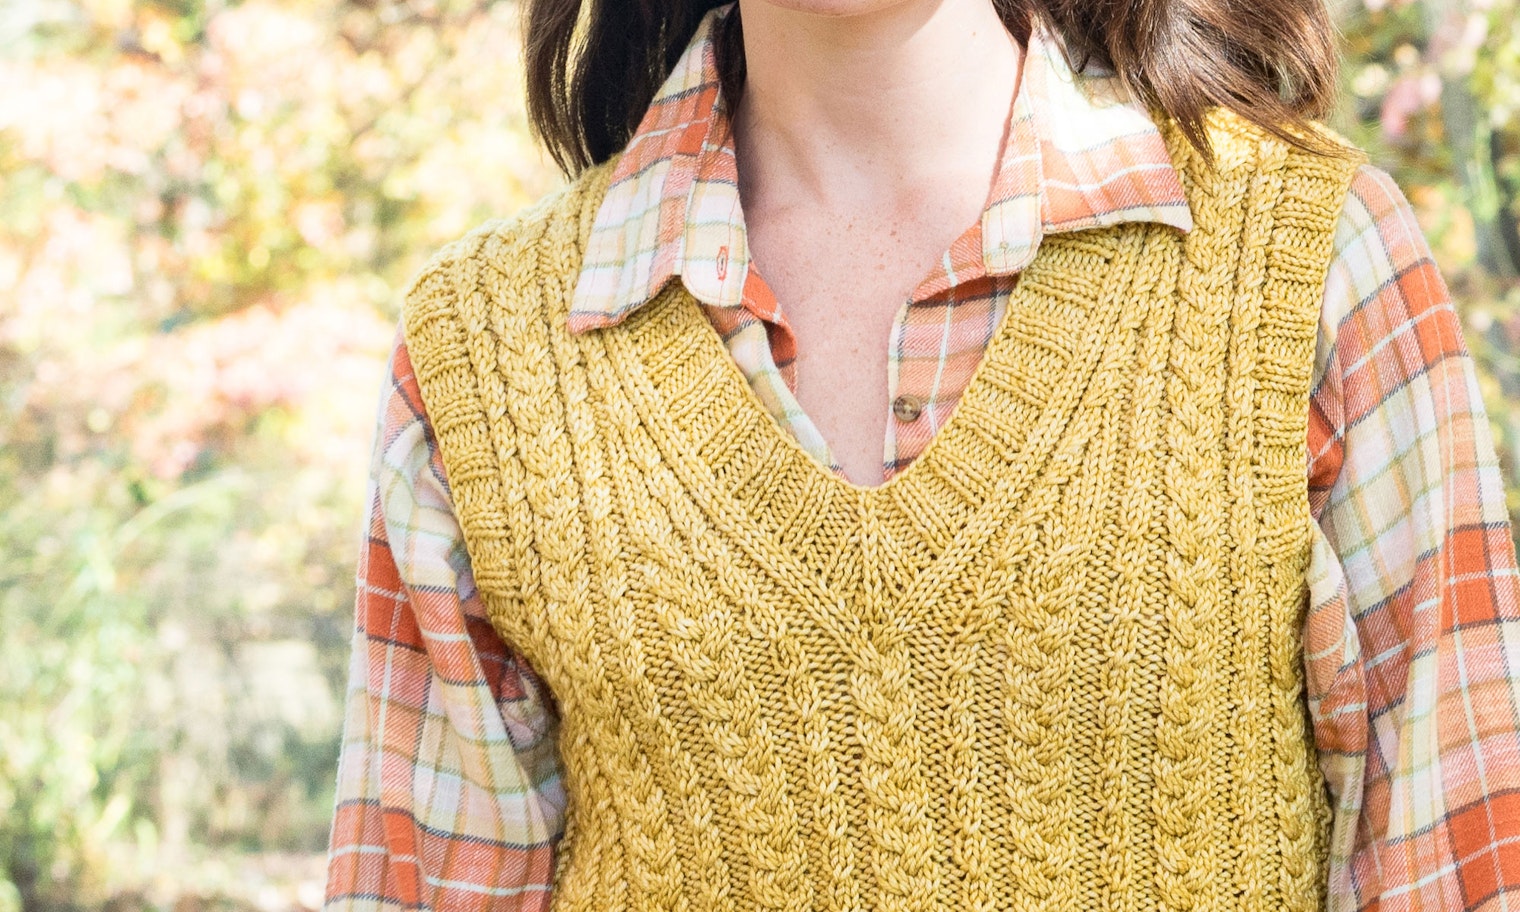
A vest is such a relaxing thing to knit—no sleeves and enough fun detail at the neck and armholes to keep it interesting. Corrina Ferguson lets us in on some of her tried and true techniques to help you learn how to make shaping a V-neck a breeze!
There is basically only one important question to ask when it comes to V-necks in knitting: Will it be worked bottom-up or top-down? Whether the garment is being worked in pieces or in one piece, when it comes to shaping the V-neck, only the direction matters.
Juggling two balls of yarn can actually make it easier to knit some V-neck sweaters, and there’s even a simple fix when you pick up the wrong number of stitches.
V-neck shaping worked from the top down requires increases to shape the neck and to reach the full width needed for the chest. When V-necks are worked from the bottom up, you begin with enough stitches to accommodate the full width needed for the chest, then decrease away stitches to achieve the V-neck shape and to reach the stitch count needed for the shoulders.
The majority of V-necks I’ve come across that are worked top-down include raglan shaping for the sleeves and armholes. That is helpful because you can incorporate the V-neck increases into the raglan shaping.
Working V-neck shaping from the bottom up is easier and more traditional. You begin with the full width for the chest, divide those stitches in half, and decrease them away as directed until you have the right number of stitches for the shoulder.
One of my favorite tips for working bottom-up V-neck shaping is to work the two halves of the neck at the same time. To do this, you will need an additional ball of yarn, and I highly suggest using circular needles (if you’re not already) even though we are working the fronts flat. Using circular needles allows you to use the cord as sort of a stitch holder, and you don’t have to worry about things getting too crowded.
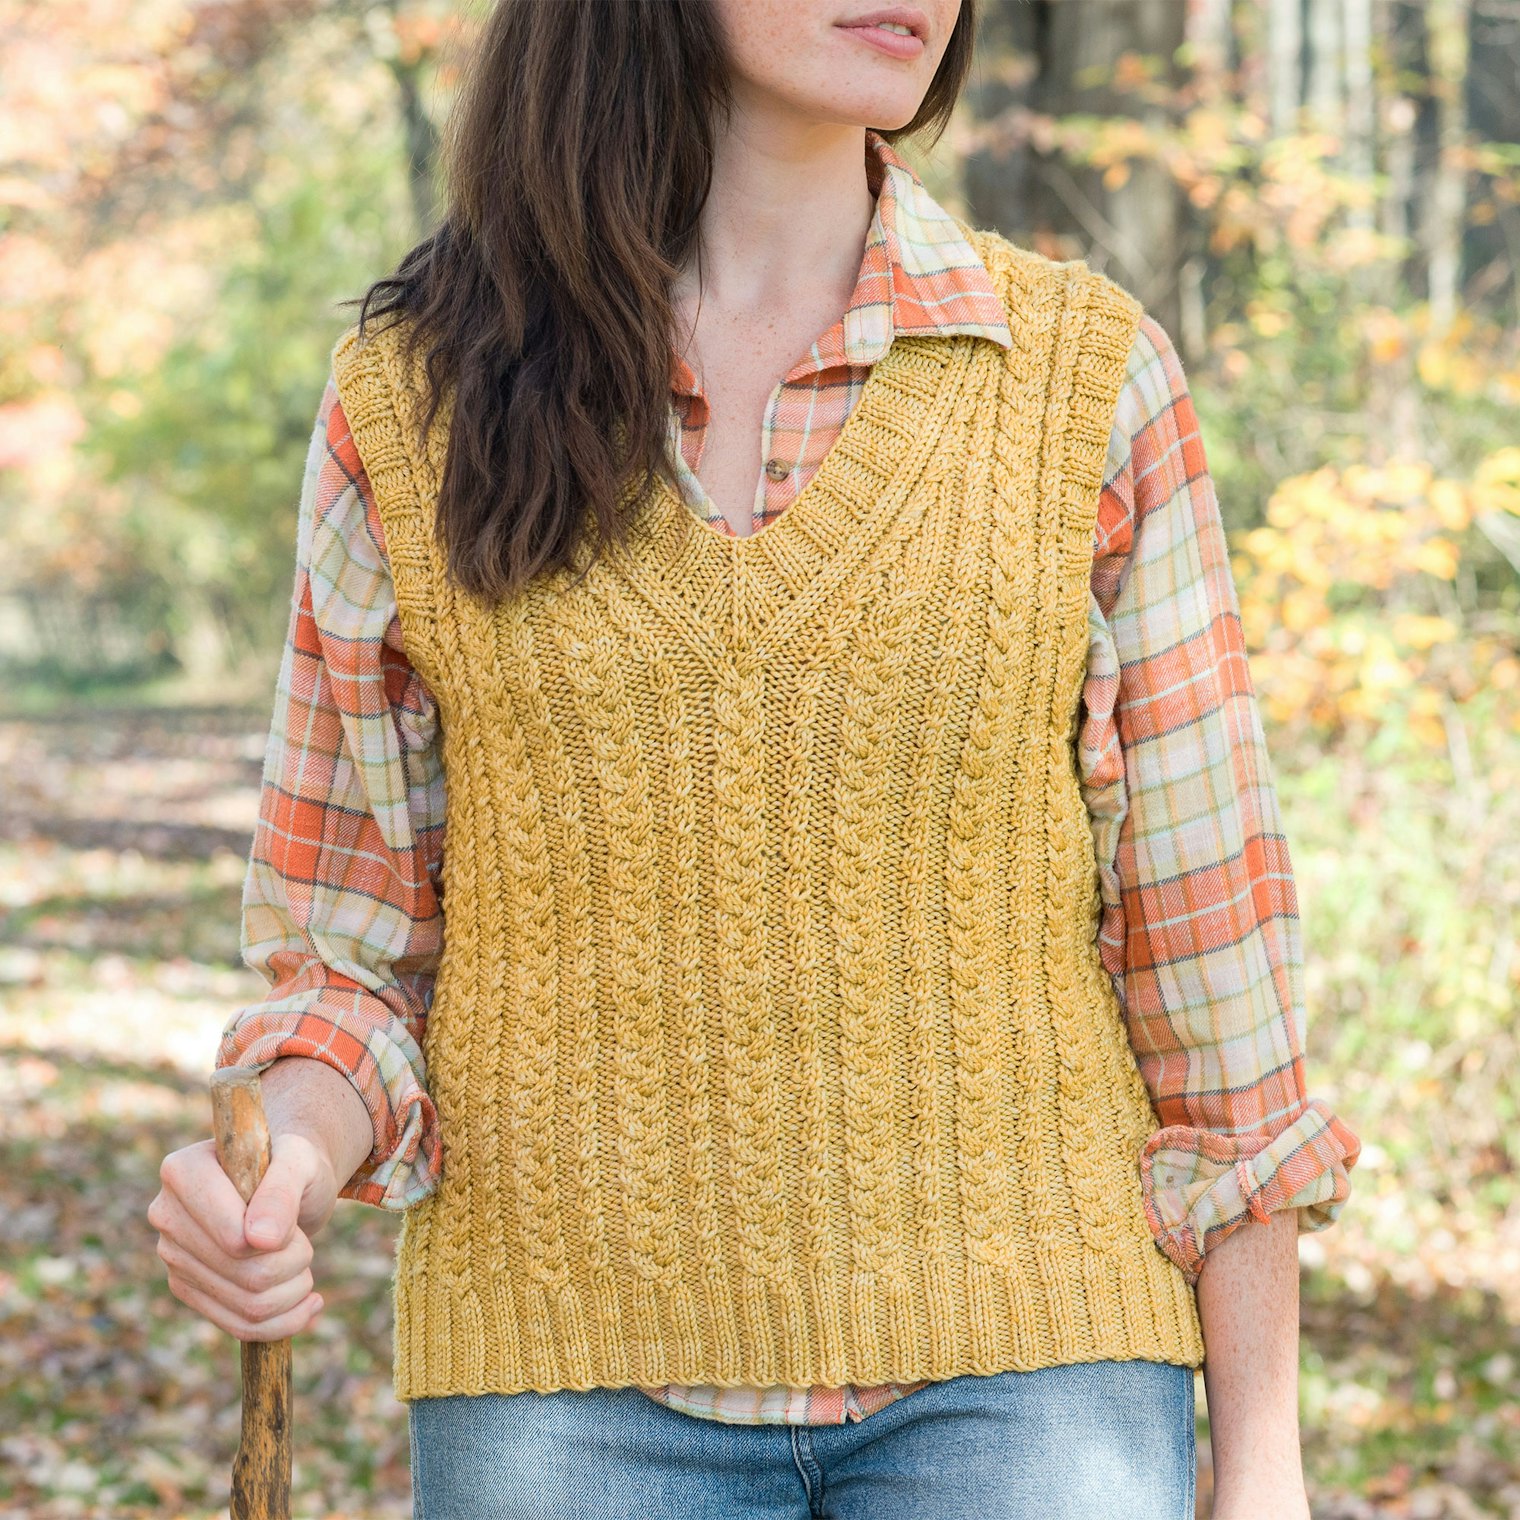
The Vest for the Cricket Match is knit from the bottom up and has a clever rib that runs along the edges of the neckband. Photo by Gale Zucker
Working with two separate balls of yarn can help you achieve a perfect row count when you are working on a garment with bottom-up V-neck shaping, such as The Vest for the Cricket Match, shown above.
Working the left and right front section of the yoke in this manner allows you to make sure your decreases are always worked on the same row, and it keeps both halves perfectly even. It is especially useful if you are working armhole shaping from a pattern that has those somewhat confusing “at the same time” sorts of directions. Another reason to work both fronts at the same time is that it simplifies things when maintaining a stitch pattern, lace, or colorwork. By working both halves at the same time, you can make sure you can adjust the patterning (due to the decreased stitch count) on both halves at the exact same point.
Here are some step-by-step instructions so that you can see how simple it is to add in an extra ball of yarn when you are knitting both sides of a yoke. Center-pull balls of yarn are better to use, if possible, as they will not tangle up as much when you are knitting with two balls of yarn.
1) Work the first right side row of your V-neck shaping. If armhole shaping has already begun, continue to work the armhole shaping as directed.
More from Farm & Fiber Knits
From the Library


Comments
No comments yet — be the first to share your thoughts.
Sign in to join the conversation — commenting is for signed-in members.