
Knitting in Color Introduction
Welcome to the corner of Farm & Fiber Knits dedicated to knitting in color! We’ve curated some of our favorite color-centric videos, techniques, patterns, and more. Consider this your personal guide to exploring color knitting and natural fibers. We will continue adding new content here, so we hope you stop by again soon!
—Kate Larson, editor
Dive into Color with Patterns and Resources
- Clover Ridge Cowl Pattern
- Make the Most of Color with A Twist on Color Video Series
- Want to Knit with Self-Striping Yarn? Start Here
- 3 Colorwork Tension Problems and How to Fix Them
Watch the library for even more color patterns (arriving mid-April).
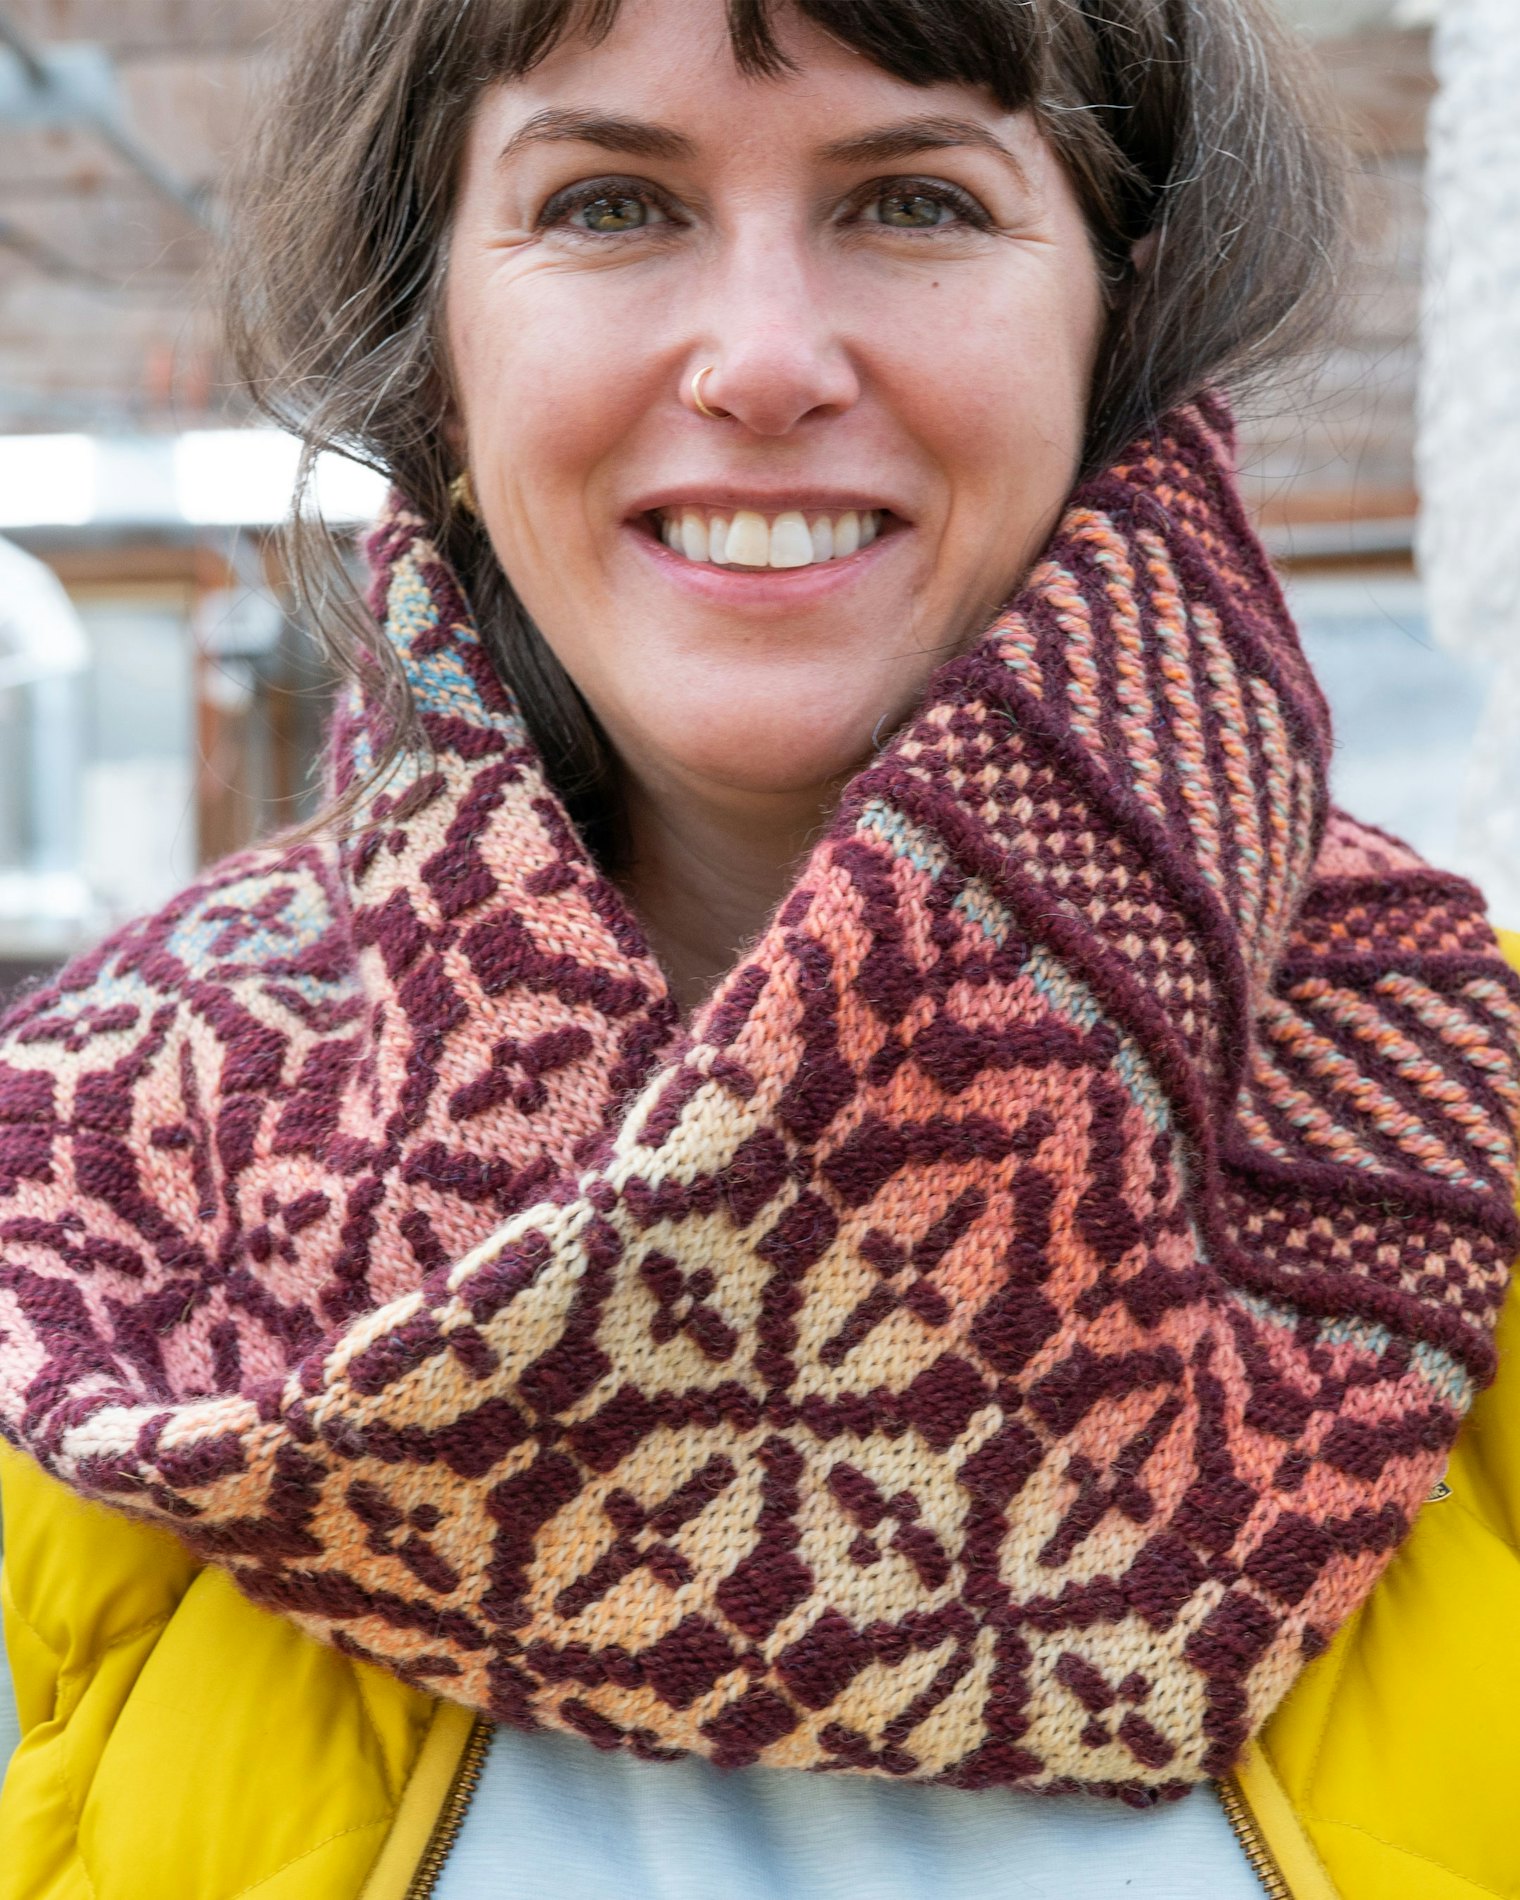
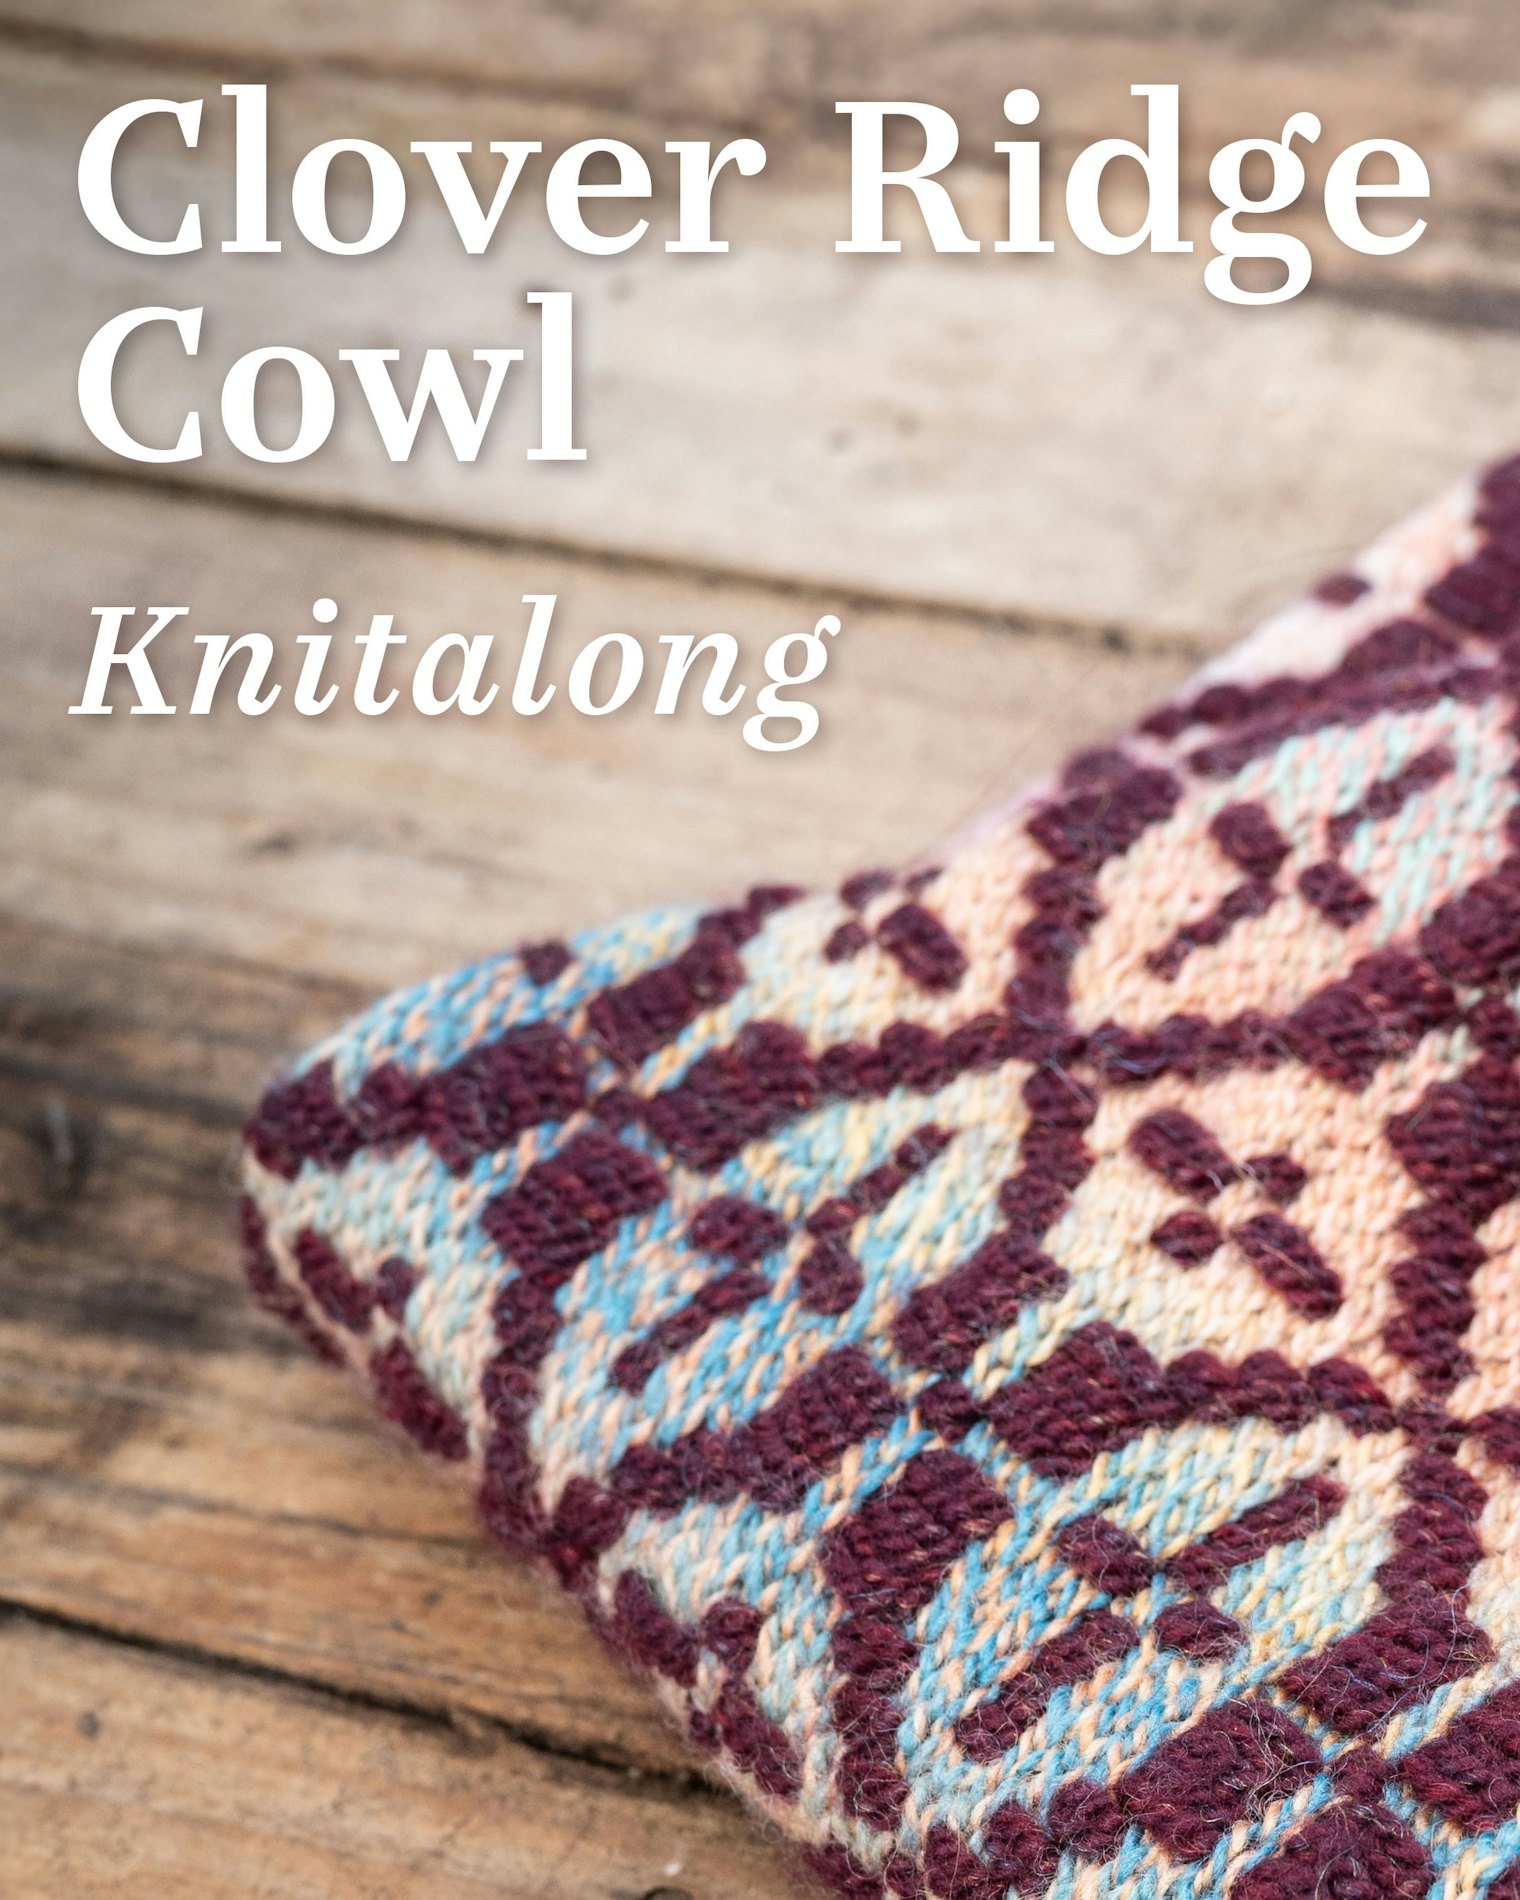
Would you like to knit-along?
What can be more fun than playing with color and knitting alongside knitters from around the world? Join us for a special kickoff to knit the Clover Ridge Cowl by Jenny Monteleone.
Key dates:
- April 2 – KAL Welcome Zoom and Palette Discussion
- April 16 – Cast-On Kickoff Zoom
- May 21 – Wrap Party Show and Share
Learn more about joining the knit-along on our main KAL infomation page.
Browse more articles on color in knitting below!
Swatching Bold Blooms with the Clematis Yoke Pullover
Even if you don't have a green thumb, you can grow a beautiful flower garden with Deborah Newton's bold yoke!
When I was young, my mother dreamed of a cottage garden. She planted a trellised rose by the side of the house, and envisioned light purple clematis blooms intertwining with hot pink rose petals. Each year, she would sip her morning coffee and count the clematis buds, eagerly anticipating their beautiful blooms. And every year, they would suddenly disappear.
After several years of this, she looked in the trash—and discovered her precious clematis vines, wilted and uprooted. When asked about it, my father said he’d been fighting “that weed in the rosebush” for years!
Many years later, I too, sipped my coffee and eagerly anticipated the clematis blooming with the roses, then watched, horrified, as a well-intentioned landscaper looked at the clematis vines, thought a minute, then destroyed them with his weedwhacker.
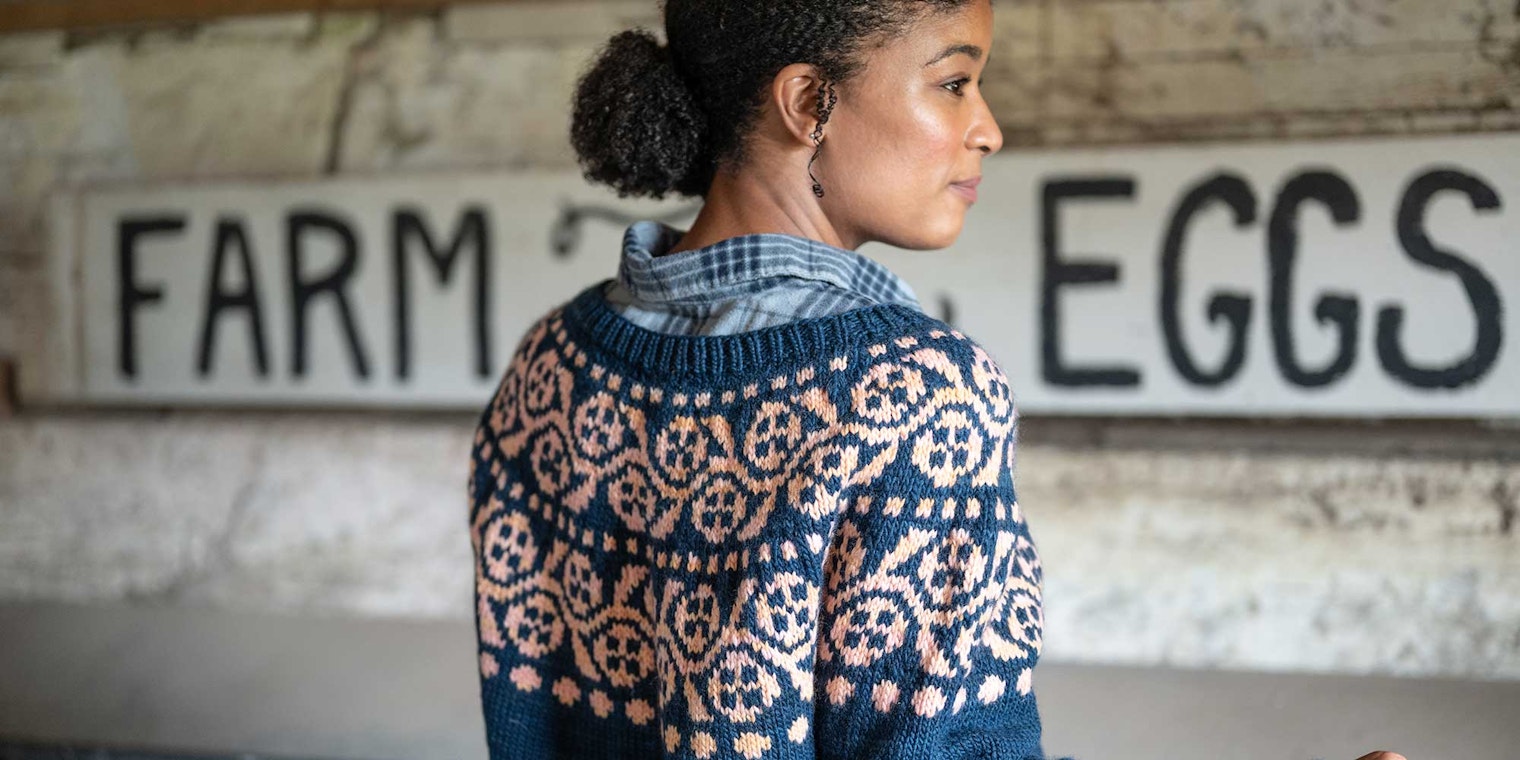
Luckily, this little vine is a hardy grower, but not invasive where I live. My clematis vine—and my mother’s—bounced back quickly, once our garden helpers were informed that they were not, in fact, weeds. It’s still a bit early for clematis blooms where I live, but it’s never too early to cast on Deborah Newton’s Clematis Yoke Pullover. Knit in soft Manos del Uruguay wool, its bright and cheery blooms will last year-round.
 This version of the Clematis Yoke Pullover is knit with Manos del Uruguay Maxima. The main color is Galaxy Blue and the contrasting color is Apricot.
Selecting a Yarn
The Clematis Yoke Pullover calls for Manos del Uruguay Maxima, a single-ply worsted weight Merino yarn. Buttery and soft, this is a blissfully cozy yarn.
I’ve also had my eye on a new yarn line from Manos del Uruguay, Ideal. Named after the Uruguayan term for Polwarth sheep, this 100% Polwarth yarn is delightfully soft and bouncy, qualities often associated with the breed. Ideal’s four plies give it durability and good stitch definition in stranded colorwork.
Choosing Colors
Daunted by all the choices available from Fairmount Fibers, I chose two colors in each yarn line to make my swatches. In the Maxima yarn line, I chose the colors Meltaway Mints and Teal. In the Ideal yarn line, I chose Love Potion and Fjord.
As I picked out the colors for my swatches, I kept in mind some advice from Jenny Monteleone, a knitwear designer and yarn shop owner. She believes that contrast is key to making colorwork pop, and simplifies value ranges into light, medium, and dark. You can learn more about choosing color successfully in the upcoming video series A Twist on Color, coming soon!
Get a closer look! Click on any image below to open it in full-screen mode.
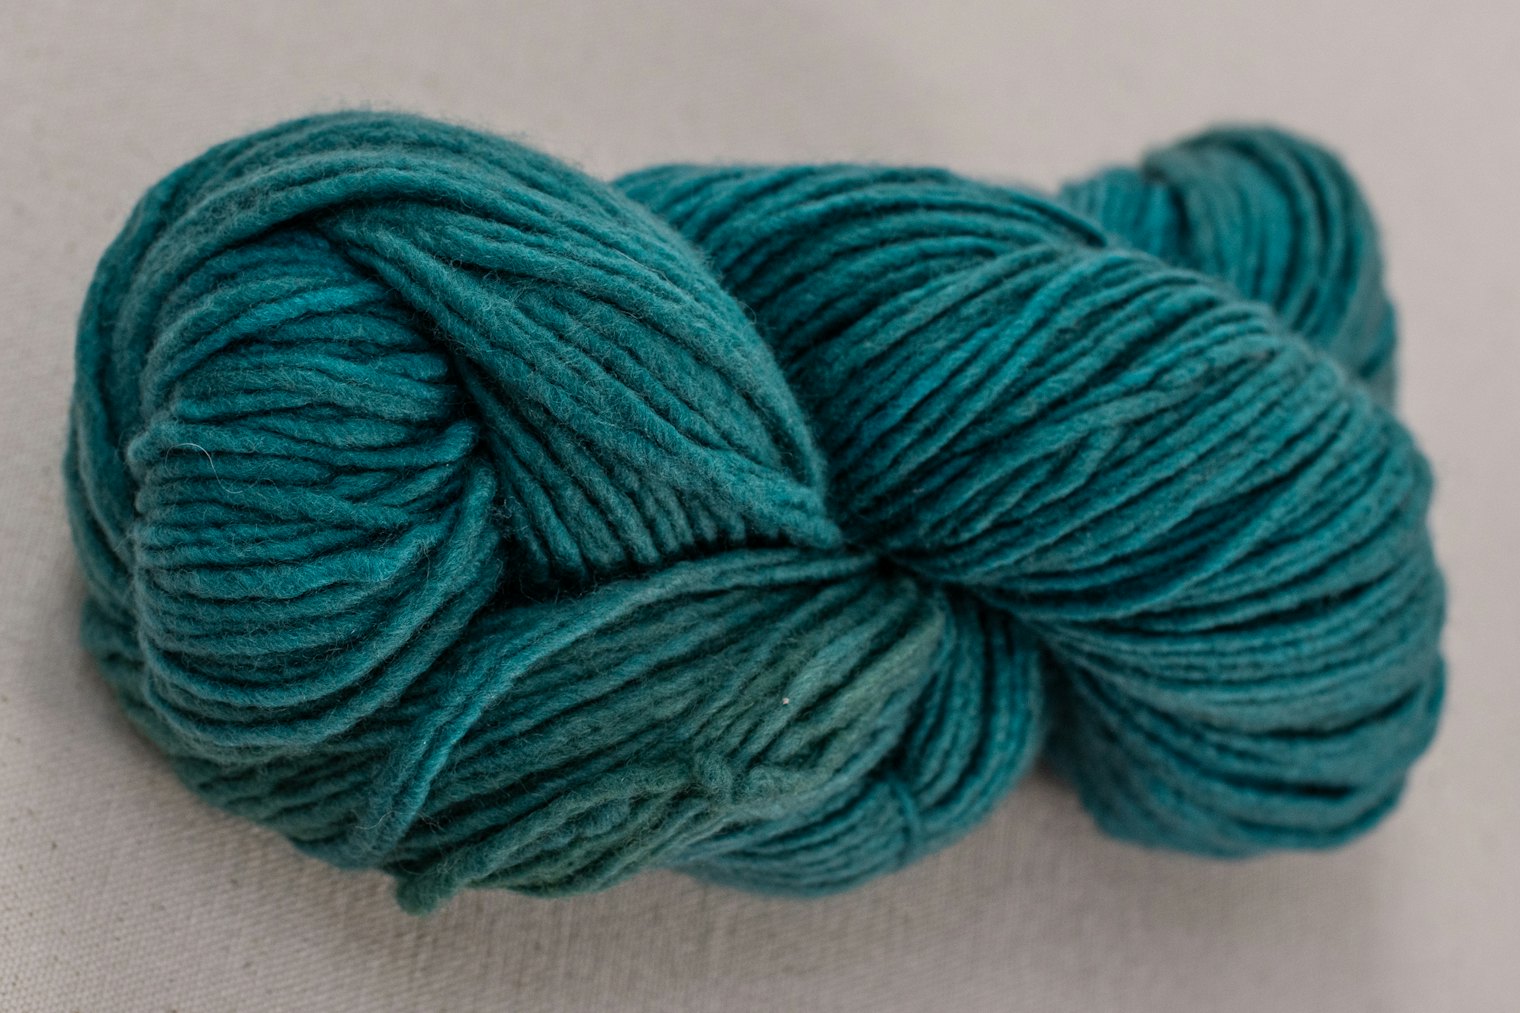
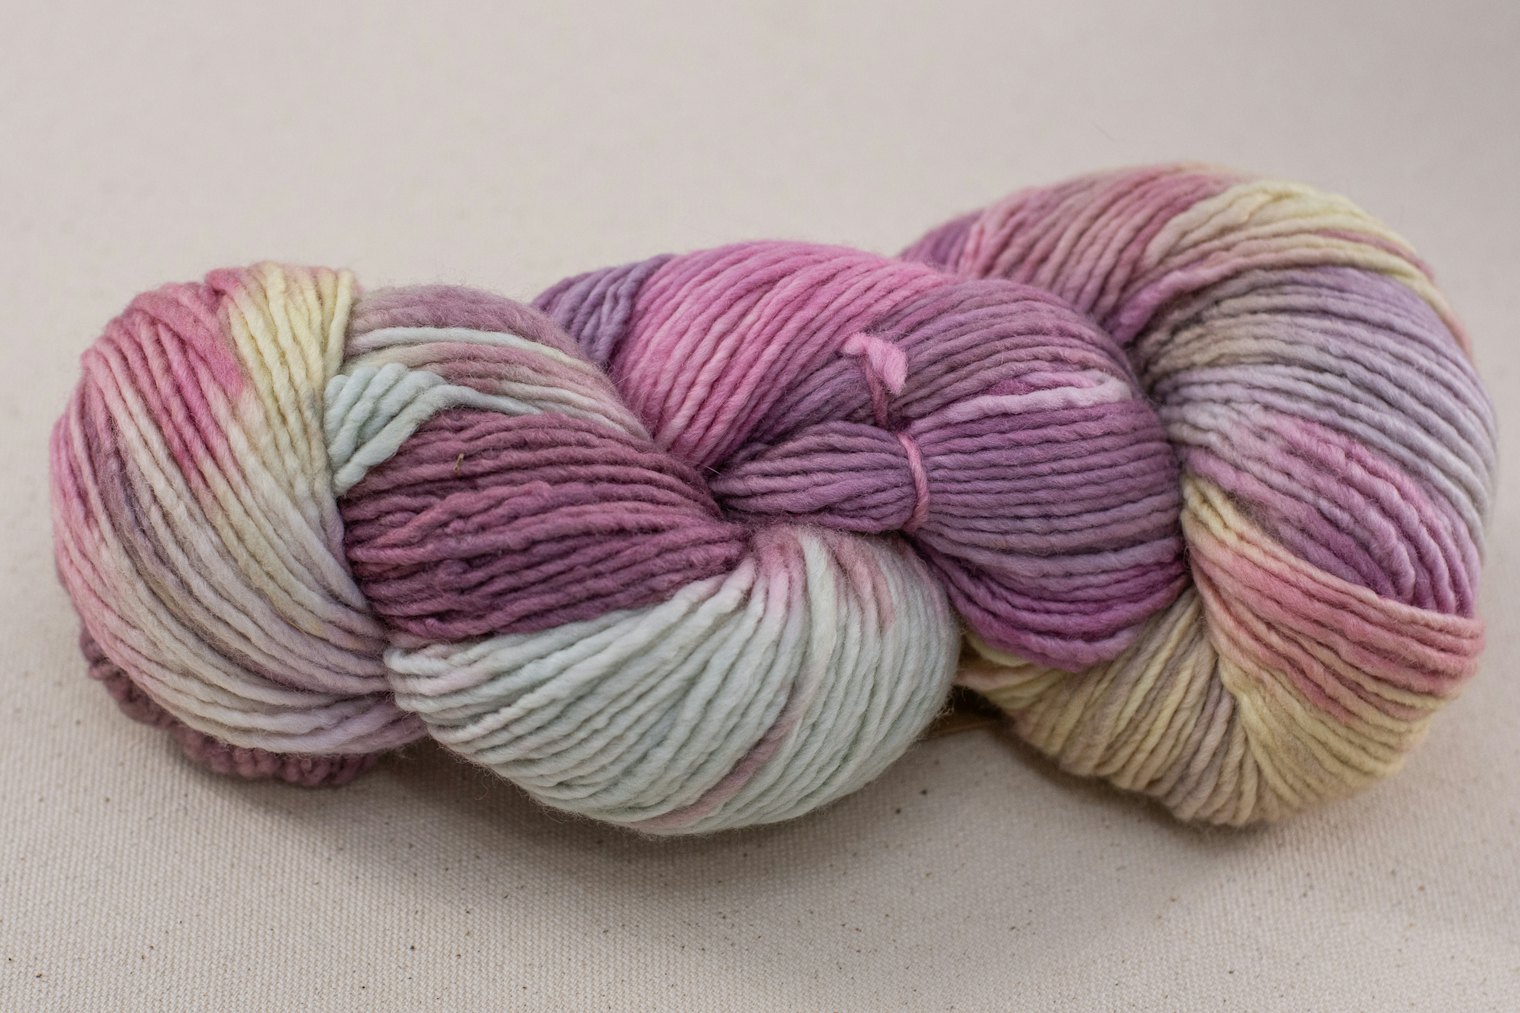
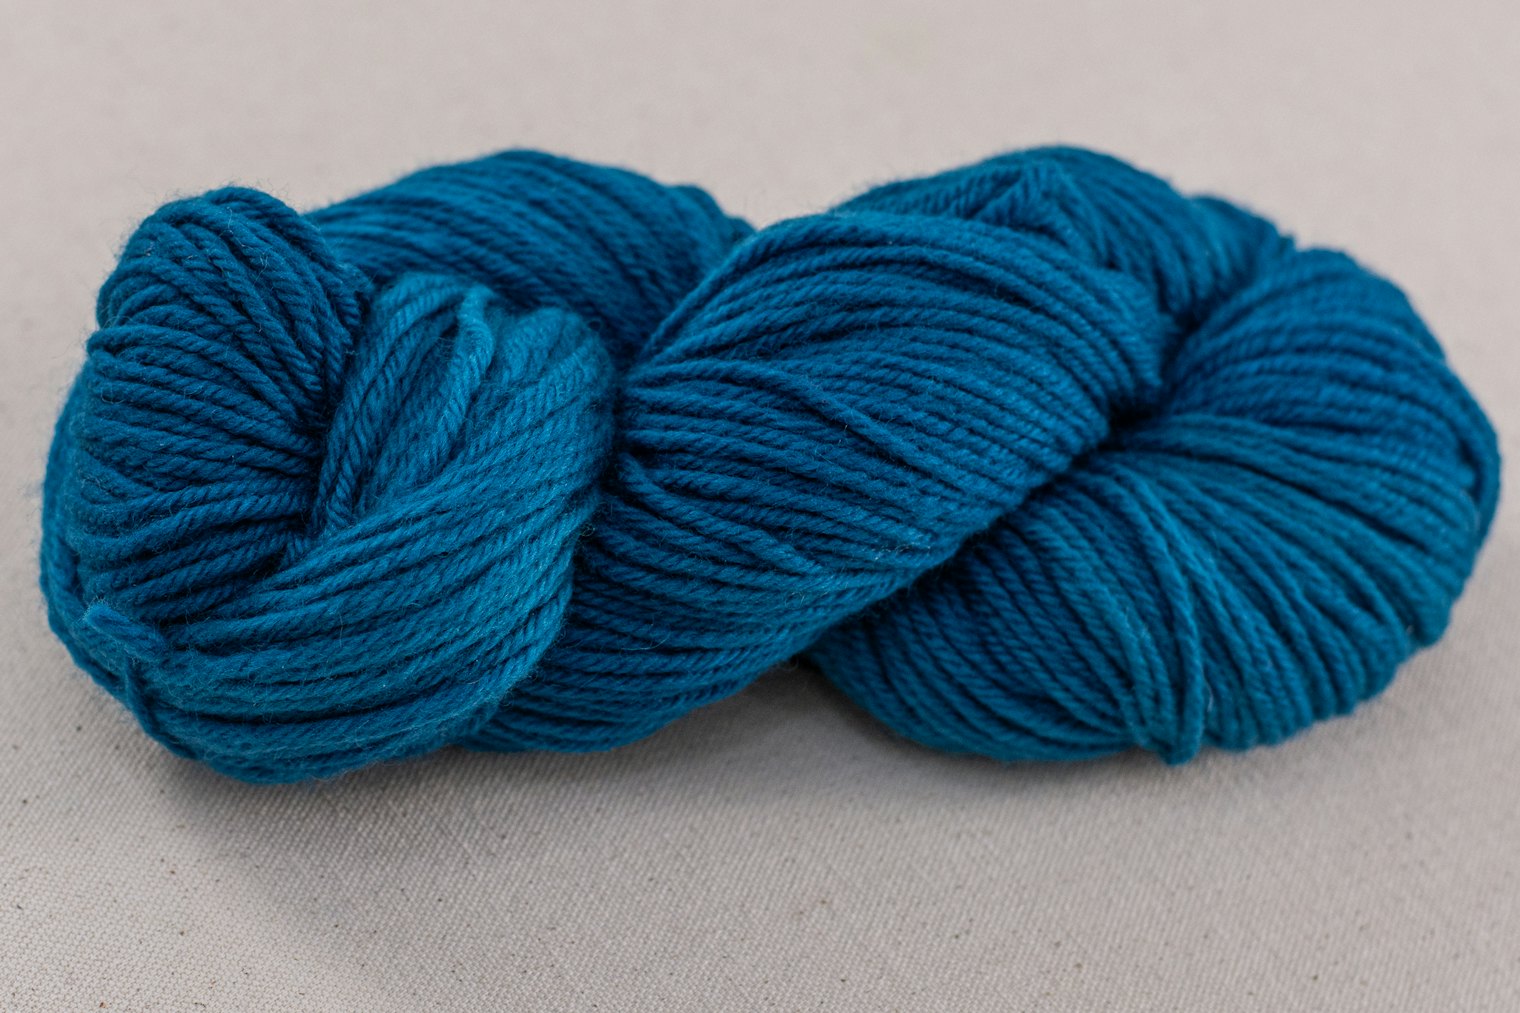
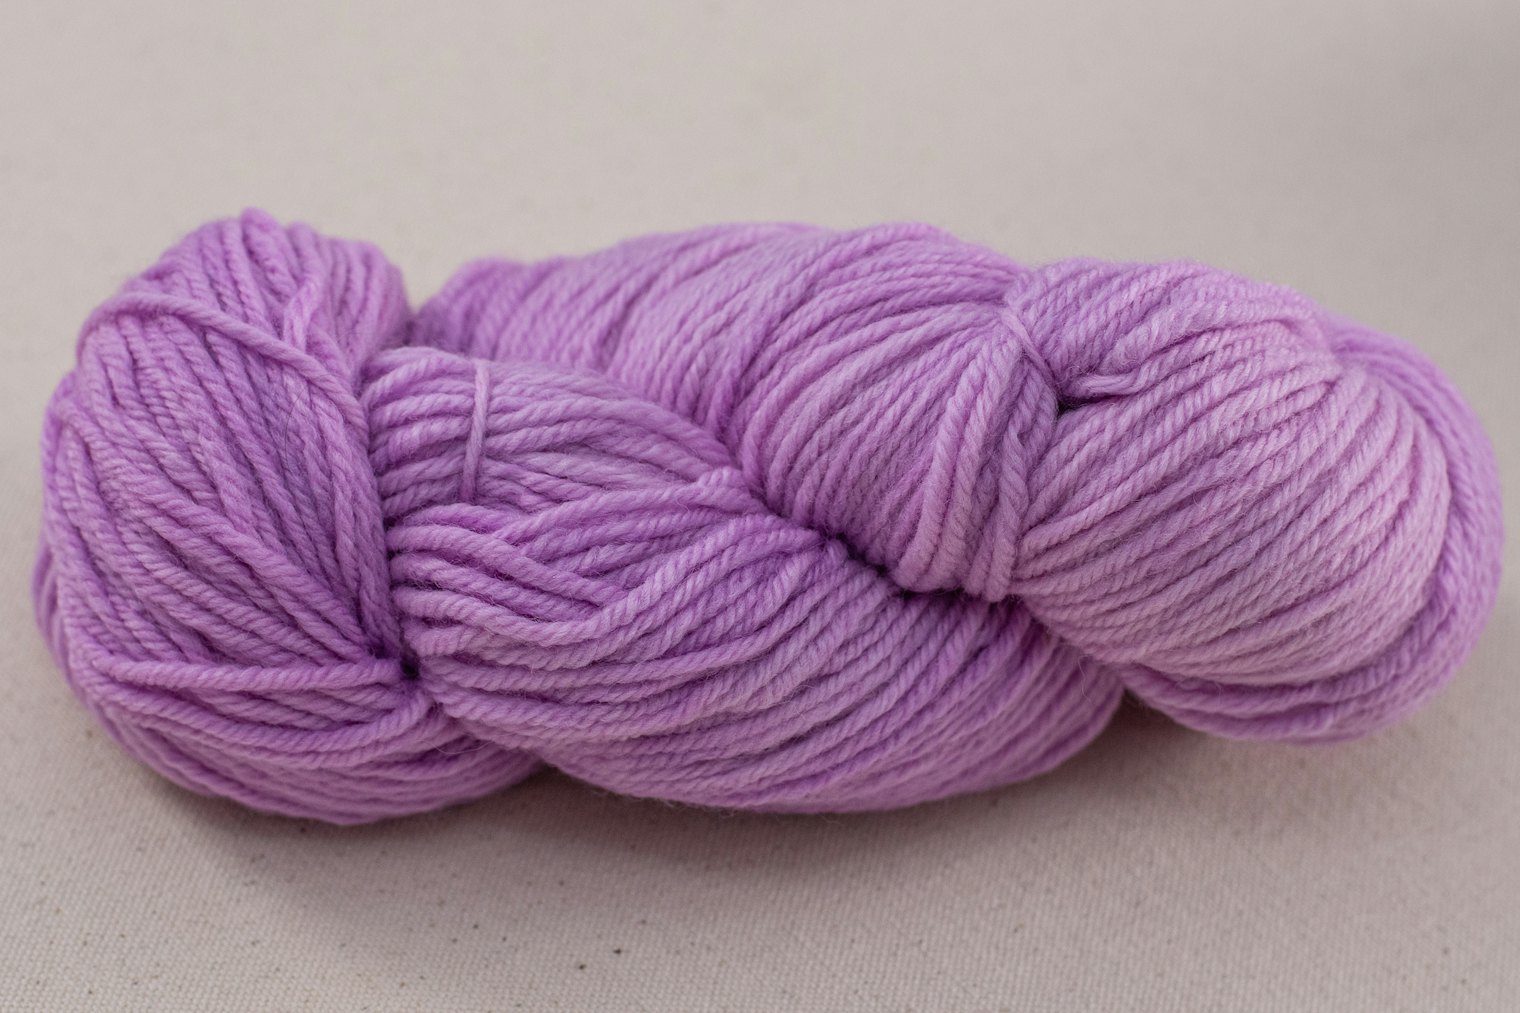
The First Swatch
Usually I choose solid colors when working stranded colorwork, but I wanted to see what happened when a variegated color like Meltaway Mints combined with a solid or semi-solid color. With its pale yellows, greens, and pinks, Meltaway Mints reminded me of dappled light falling on flower petals, and I wanted to see if that effect could translate into knitting.
As I knit my first swatch, it became clear that some of the lavender color runs in Meltaway Mints weren’t as light as I’d hoped, and didn’t have enough value contrast with the Teal colorway for my taste. This pairing could still make a compelling and interesting yoke, but it would be a good idea to make a larger swatch in the round just to make sure.
 Pamela's first swatch. You can see the clematis leaves beginning to emerge in early spring. Photo by Pamela K. Schultz
The Second Swatch
There were still plenty of options to try. Combining Meltaway Mints with Fjord in the Ideal yarn line created better contrast and a more successful pairing. You might not immediately think to combine a four-ply yarn and a single-ply yarn in colorwork, but a plied yarn in the body of the sweater will give it better durability, and the contrast in ply structure can also create an interesting contrast in surface texture in the colorwork section.
 The second swatch has better value contrast between the main and contrasting colors. Photo by Pamela K. Schultz
The Third Swatch
The next swatch was Fjord and Love Potion—both the from the four-ply Ultima line—and this was my favorite color pairing of the bunch. Love Potion is a lovely orchid pink, with just a hint of purple, and has great contrast with the deep blue of Fjord. The fabric is soft, and the stitch pattern clear and bright against the deep blue background.
 The third swatch has the best of both worlds, with good visual contrast and more durability from the four-ply yarns. Photo by Pamela K. Schultz
The Fourth Swatch
The last swatch I had planned was with the single-ply Maxima in Teal and four-ply Ideal in Love Potion. This is also a striking color combination, with a classic complementary color scheme. There’s great value contrast between the light orchid color of Love Potion and the medium-dark of Teal. Like the second swatch, there’s an interesting texture contrast between the plied and unplied yarns. However, I’d want to do a little stress testing before knitting the body of a sweater with a single-ply Merino—as soft as it is, it might not hold up to the way I treat my sweaters as all-purpose garments.
 The fourth swatch has good value contrast between the colors. Photo by Pamela K. Schultz
But Wait, There’s More!
There are still several color combinations I haven't tried with the yarns I have on hand. What would it look like with Love Potion as the main color and Teal or Fjord as the contrast color? I couldn't resist just one more swatch, with the dappled color of Meltaway Mints still on my mind. The last swatch is knit with Meltaway Mints in Maxima as the main color and Fjord in Ideal as the contrasting color. I think this could make a fun and modern sweater, too, though I’d like to try one more color—a deep indigo like Future Dusk in Ideal or a deep purple like Sea Urchin in Maxima.
 The fifth swatch is pure fun, with the variegated color as the main color. Photo by Pamela K. Schultz
Swatching for Gauge and Color
You may notice that all these swatches are knit flat. The Clematis Yoke Pullover, however, is knit in the round, so I consider these swatches to be color previews, not gauge swatches!
Deborah Newton suggests starting with a sleeve as a good test of gauge, which is a strategy I can get behind. Remember to also check your guage in the round in the charted pattern—many knitters find they need a different needle size for stranded colorwork.
 Blooming swatches anticipating spring. Photo by Pamela K. Schultz
Ready to Cast On?
Whatever yarn or color combination you choose, the Clematis Yoke Pullover is a delightful addition to any handknitter’s wardrobe. It will have you enjoying bright, cheerful blooms, no matter the season—or the whims of your garden helpers!
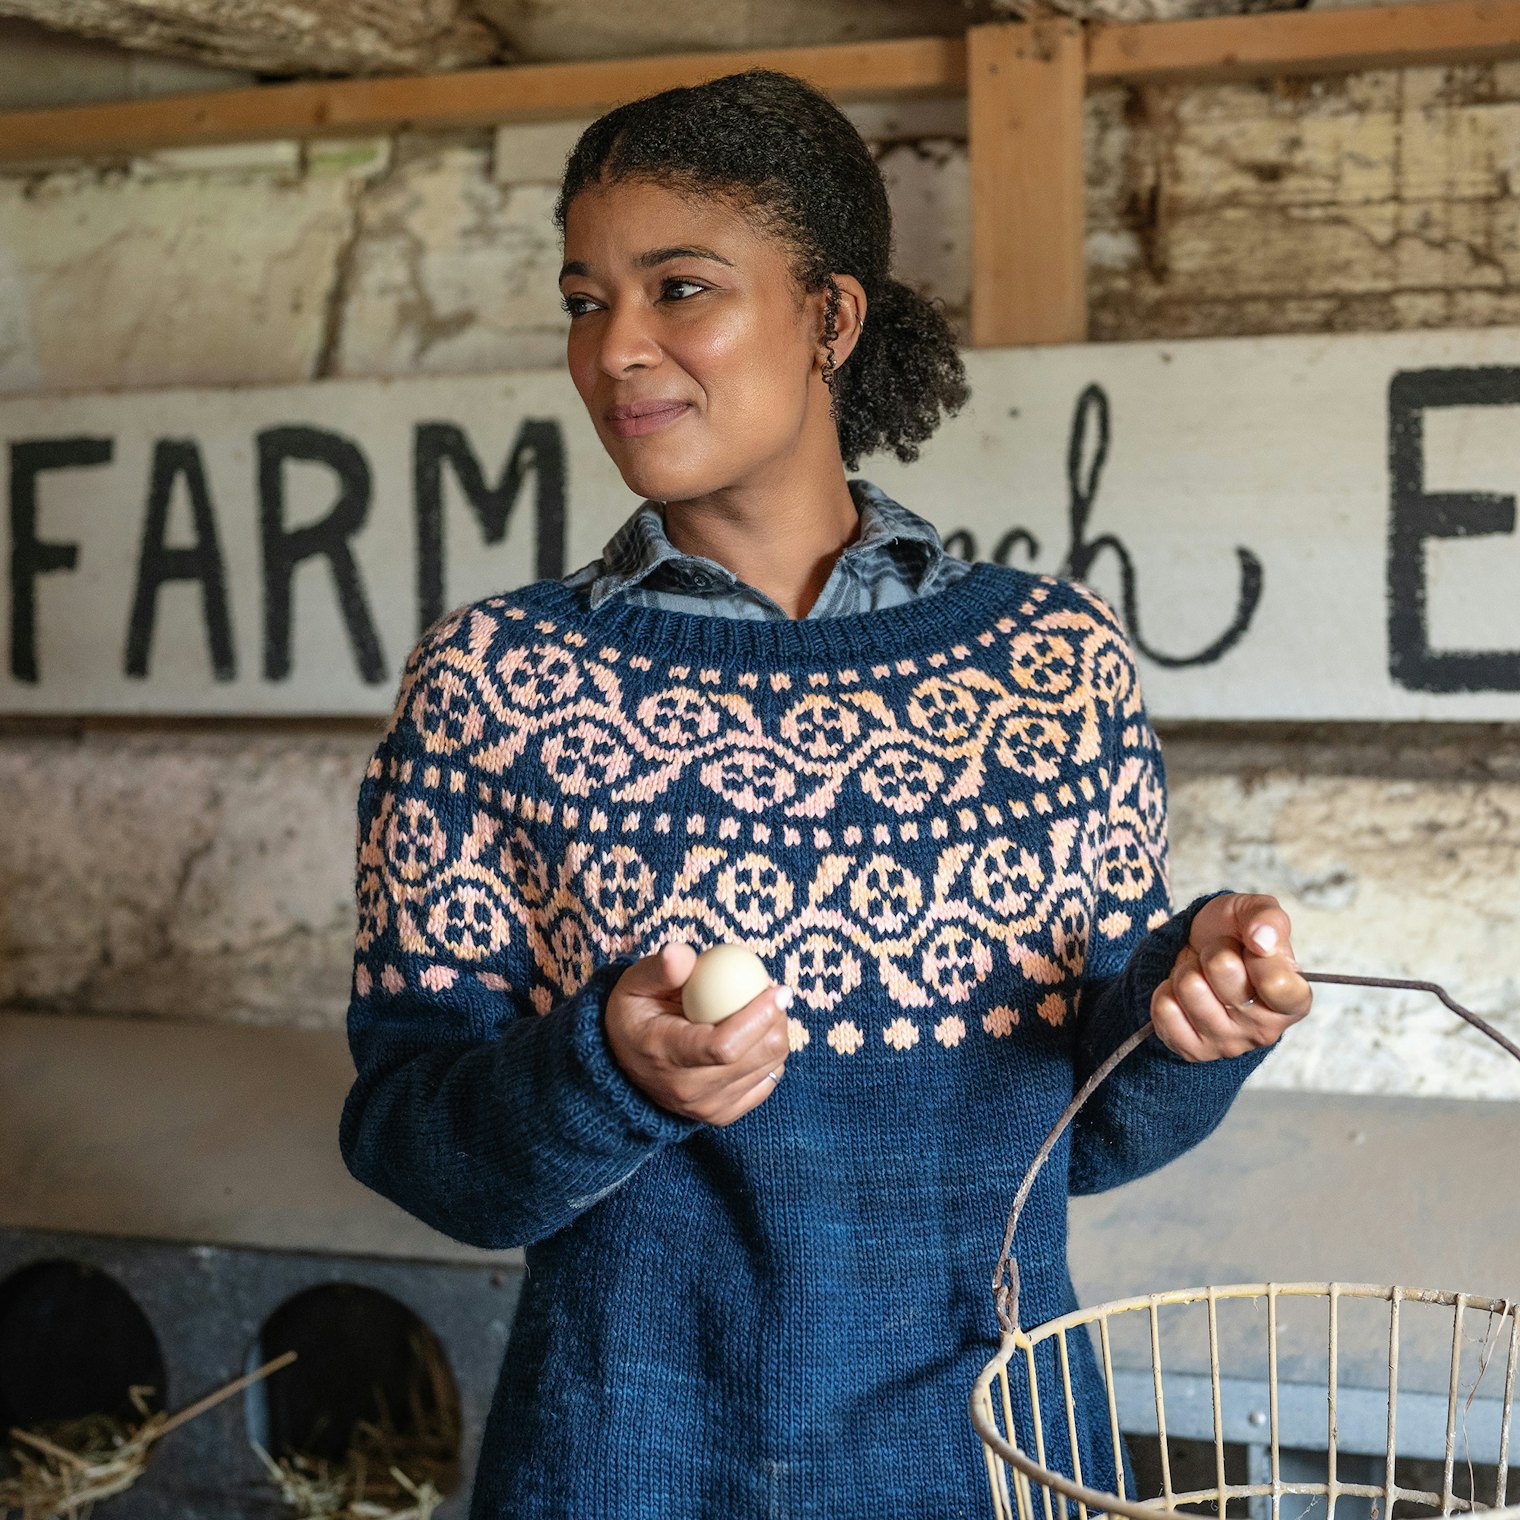 Cast on your Clematis Yoke Pullover today!
Subscribers can find the Clematis Yoke Pullover in the Farm & Fiber Knits Library.
Choosing Colors for an Icelandic Lopi Sweater
Get a designer’s thoughts on how to choose different colorways for your next sweater.
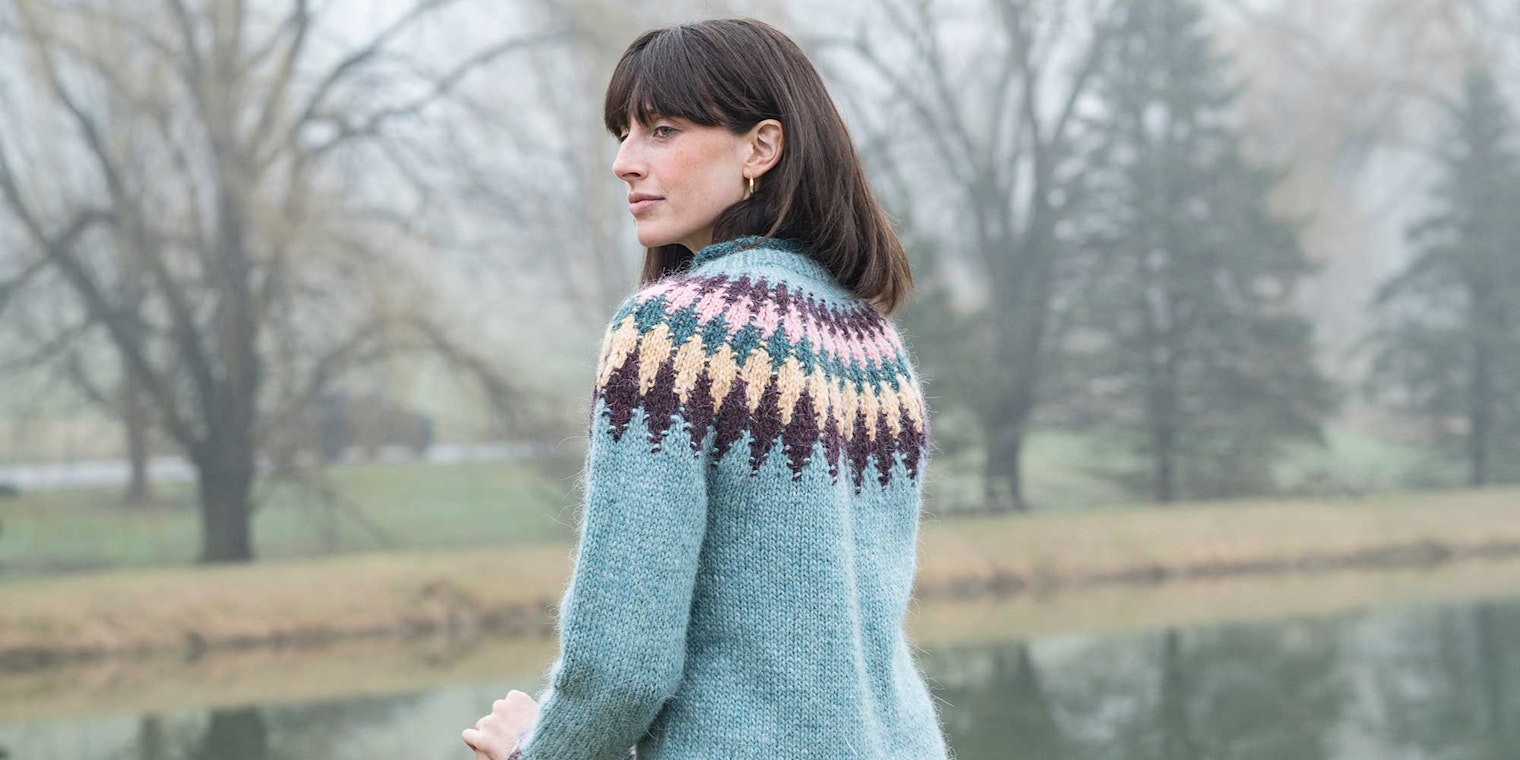
Traditional Icelandic pullovers, known as lopapeysur, are made with Lopi yarn from Icelandic sheep’s wool. These sweaters reflect the importance of Icelandic sheep and wool in the island nation. There is a veritable constellation of beautiful patterns, many of them designed by Védís Jónsdóttir, the head designer for Ístex.
A farmer-owned cooperative that processes the majority of Icelandic wool, Ístex offers its own array of natural and dyed colors to choose from. Knitters face an almost dizzying abundance of choice when selecting yarns for a sweater.
In the premier issue of Farm & Fiber Knits magazine, we asked Védís to reimagine one of her classic designs. She stunned us with her color selections for Tíglar Tveir, and was kind enough to share some of her color inspirations to help us become more comfortable choosing our own colorways.
While the original colorway is fashionable and joyful, her new colors are calm and peaceful. How she arrived at these new color combinations is almost as wonderful the colors themselves!
 Védís Jónsdóttir designed the Tíglar Tveir pattern and is the head designer for Ístex. Photo courtesy Védís Jónsdóttir
Pre-Swatch with Yarn Wrapping
It can be time-consuming to knit swatch after swatch, only to discover that you don’t love your color combinations. Sketches with colored pencils are great for brainstorming, but the way light reflects off yarn is different from how it reflects off paper. What’s a time-strapped knitter to do?
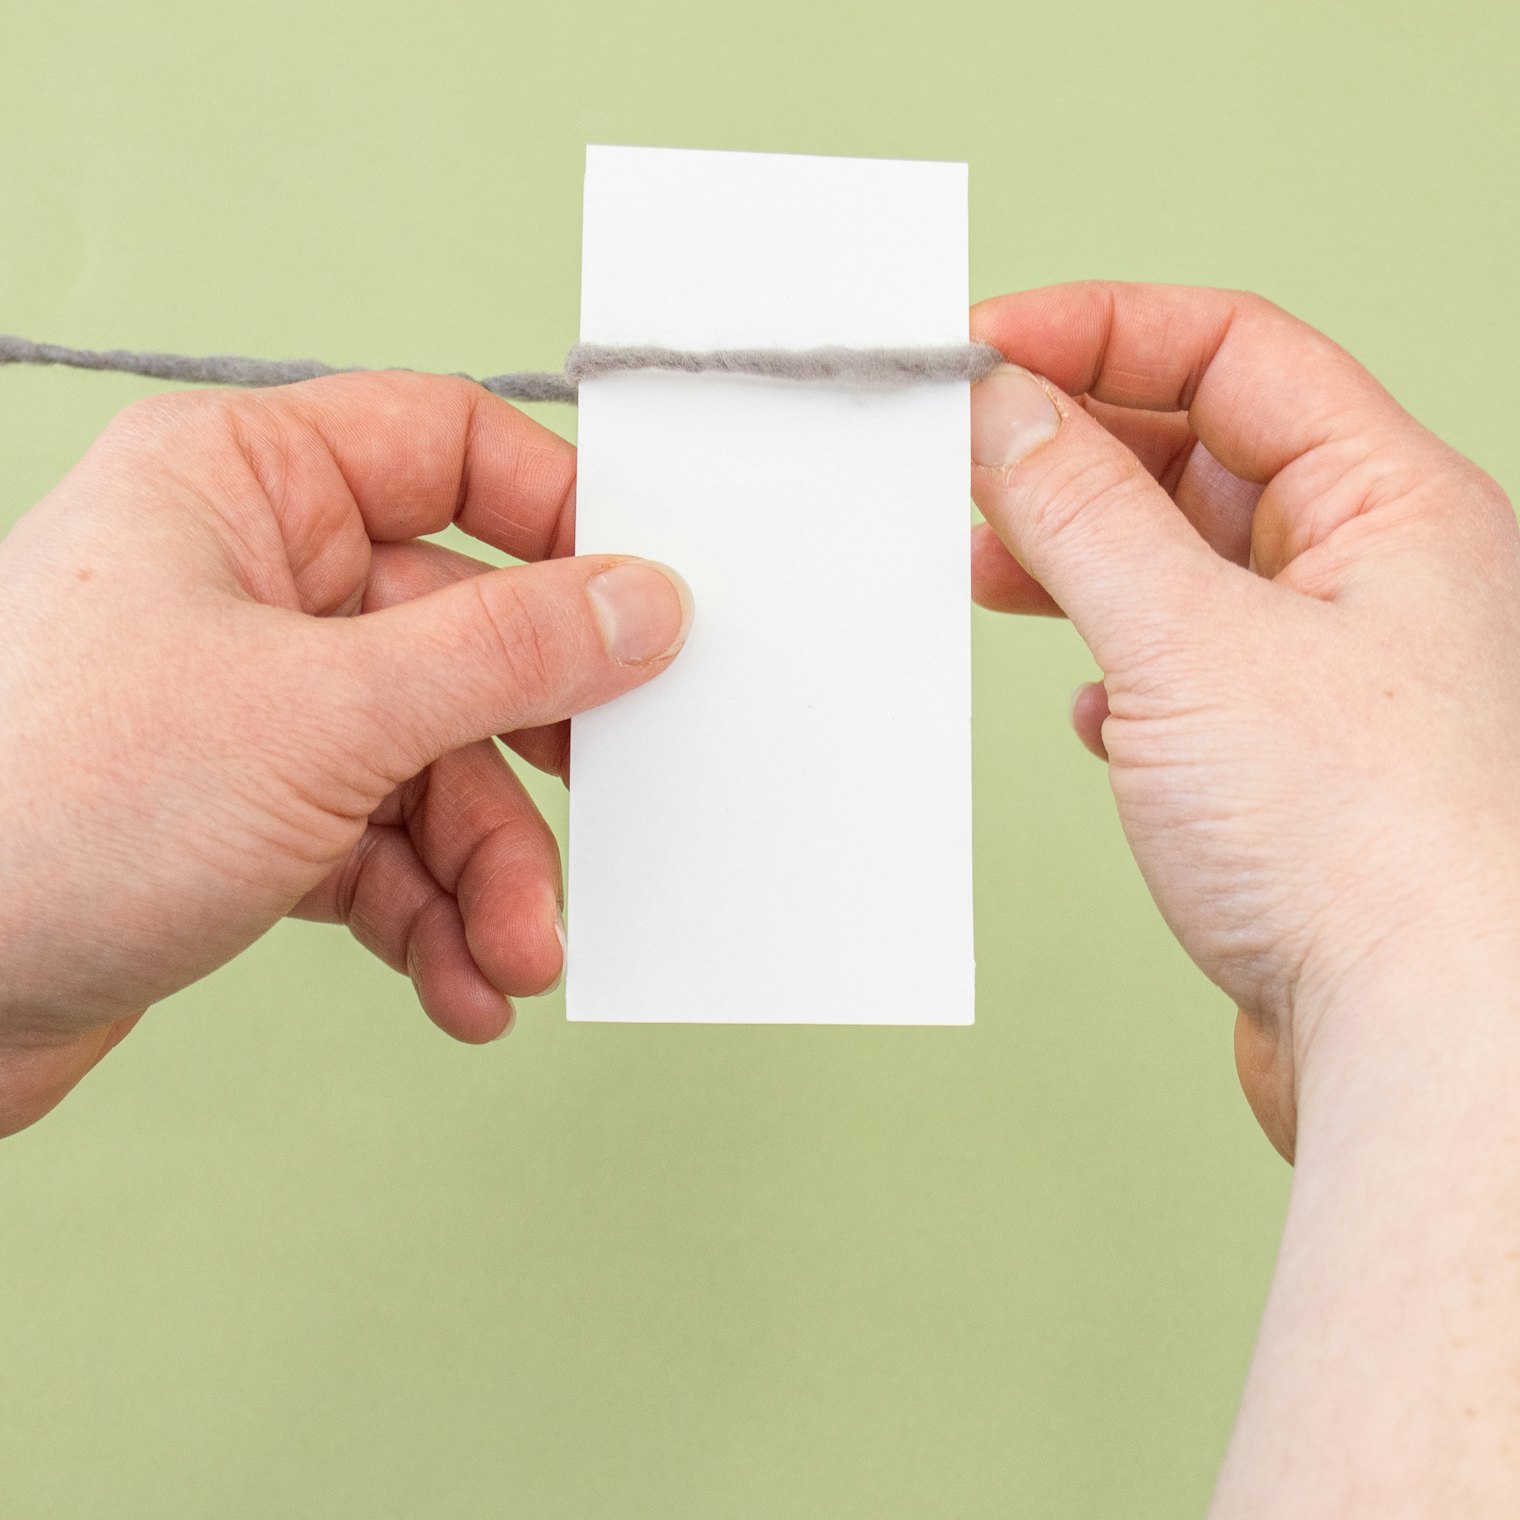
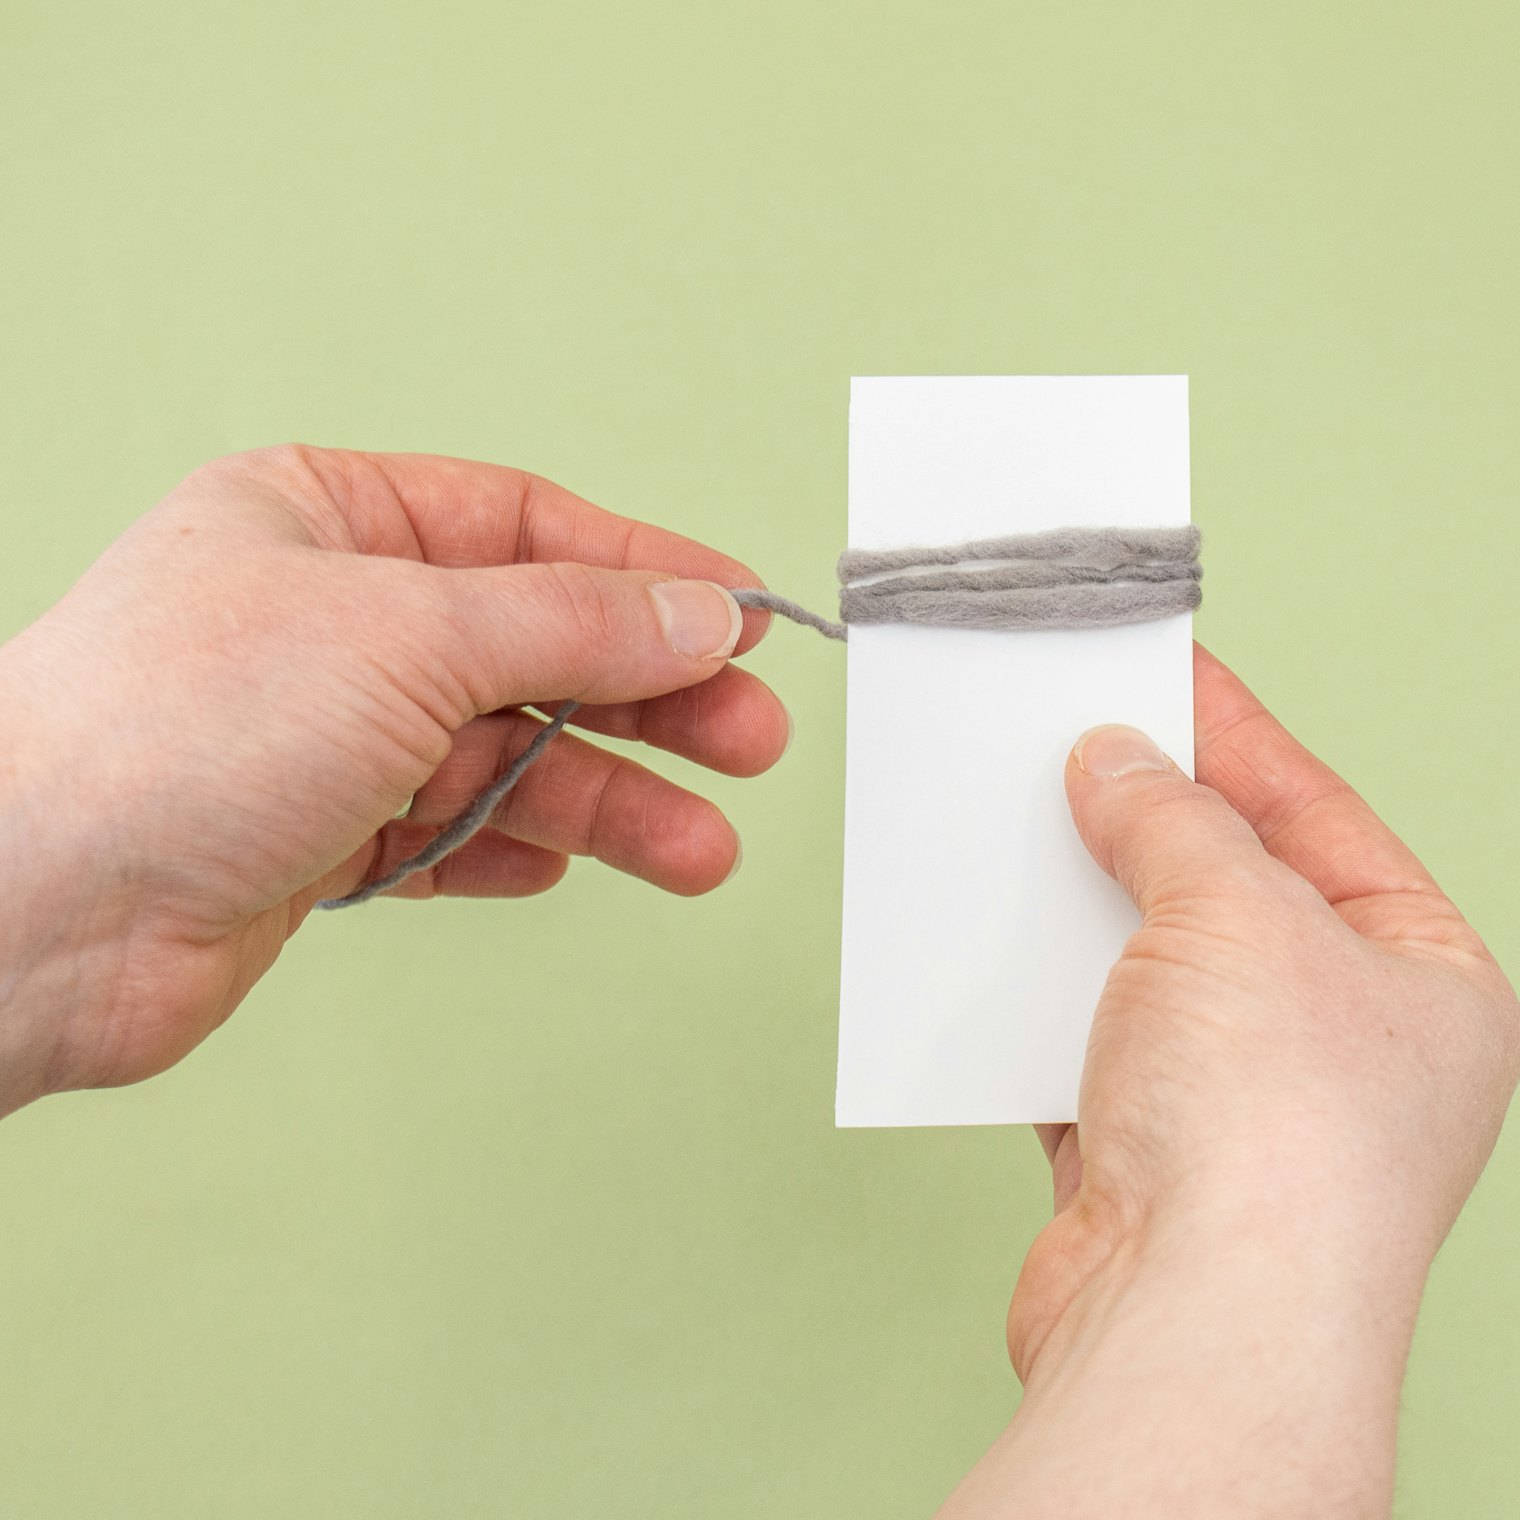
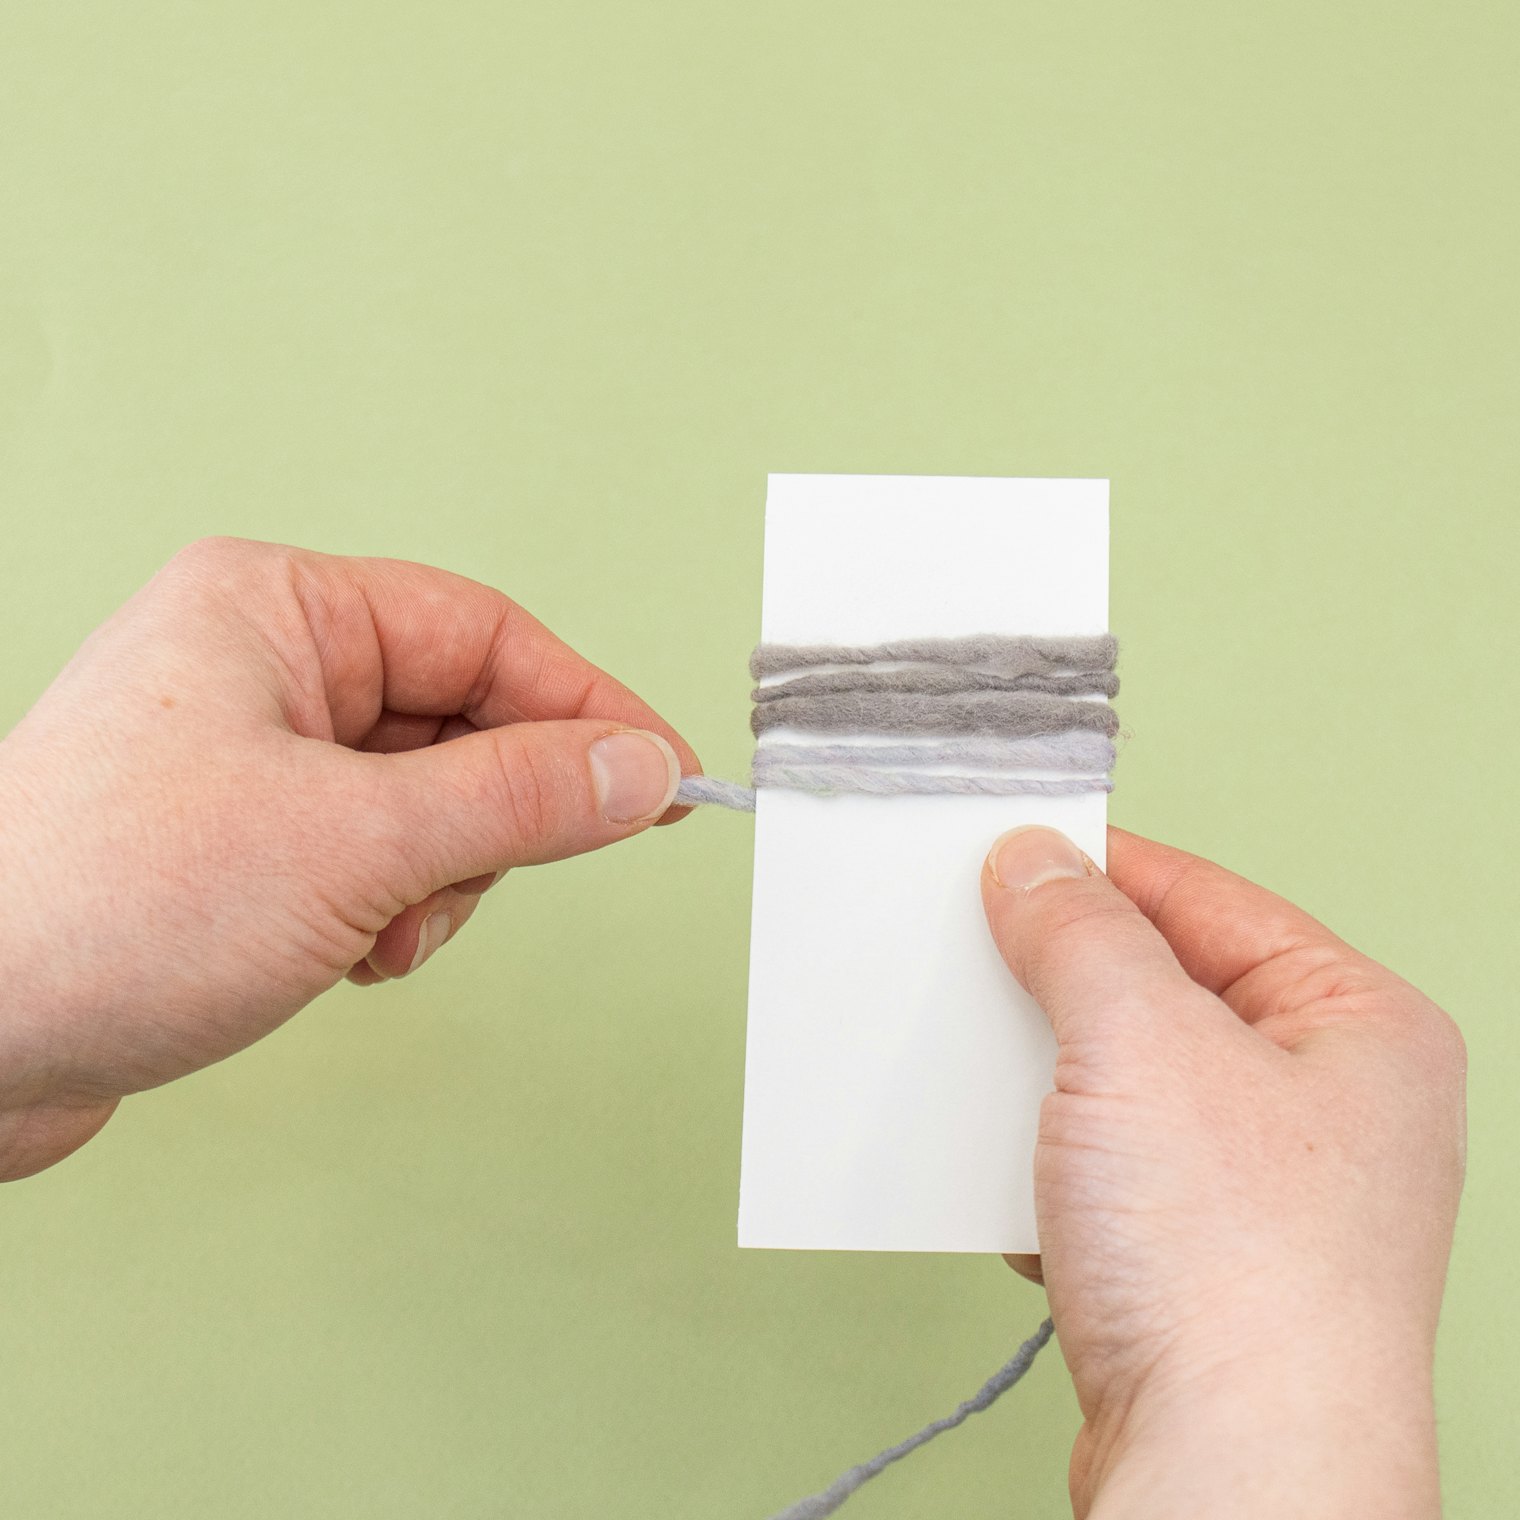
For these quick samples, Védís made yarn wrappings of her new colorways. Yarn wrapping is a quick and handy technique employed by many weavers to predict striping patterns, but it can help knitters, too.
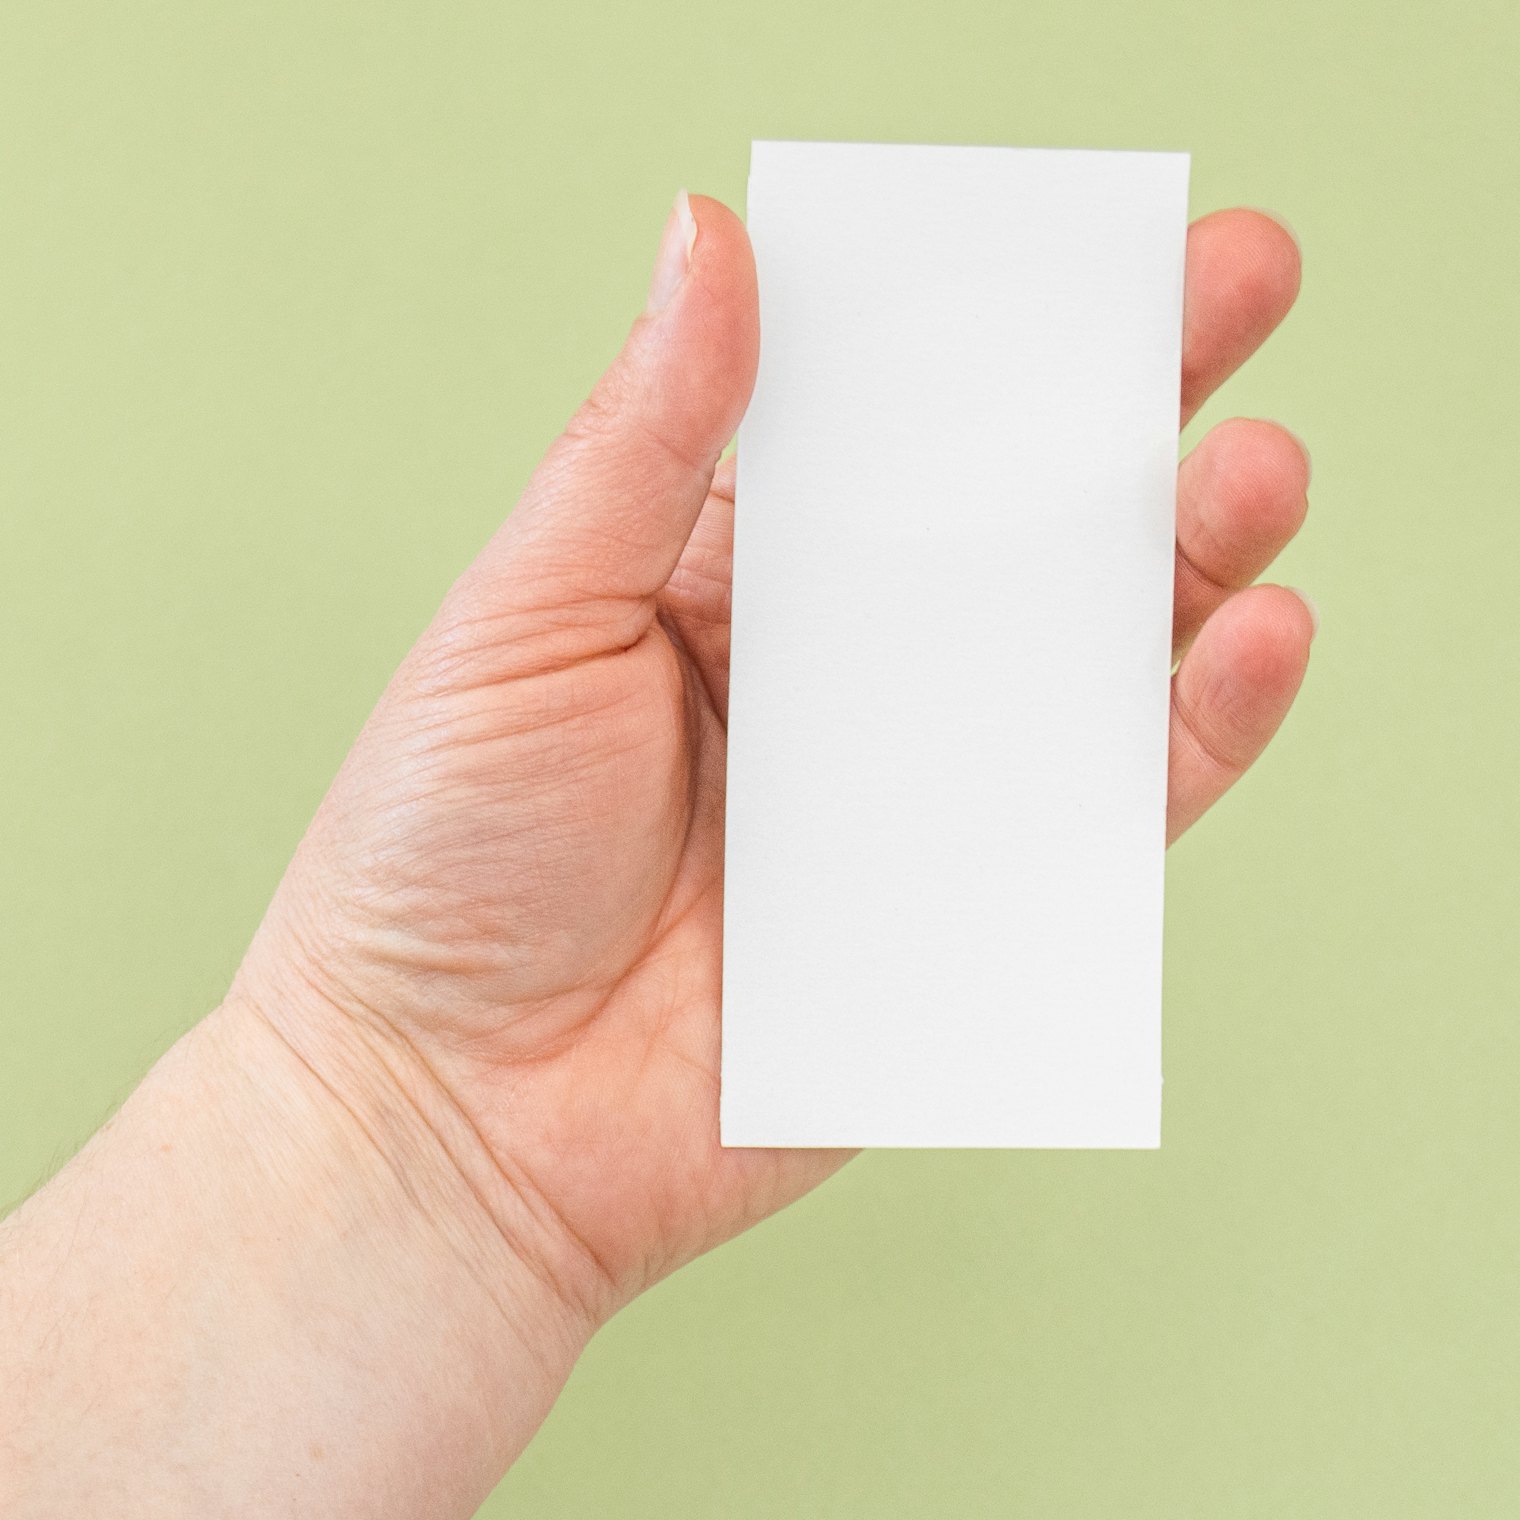
To make a yarn wrapping, simply wrap yarn around a piece of matboard or sturdy cardstock. You can either tape the ends to the back of the card or cut a small notch in the card to hold the yarn. The result is a quick color study that shows you how your yarn colors coordinate with each other and uses very little yarn.
You’ll still need to swatch to check gauge and finalize your color selections, but a yarn wrapping can help speed up the process!
Click on an image below to open it in full-screen mode.
Calm Between the Storms
Embrace the quiet calm of winter grays with this first colorway, knit in three natural tweedy tones. Védís writes,
What is Mosaic Knitting?
We have the whys and wherefores—and a farm-fresh project to get you started!
By Sandi Rosner
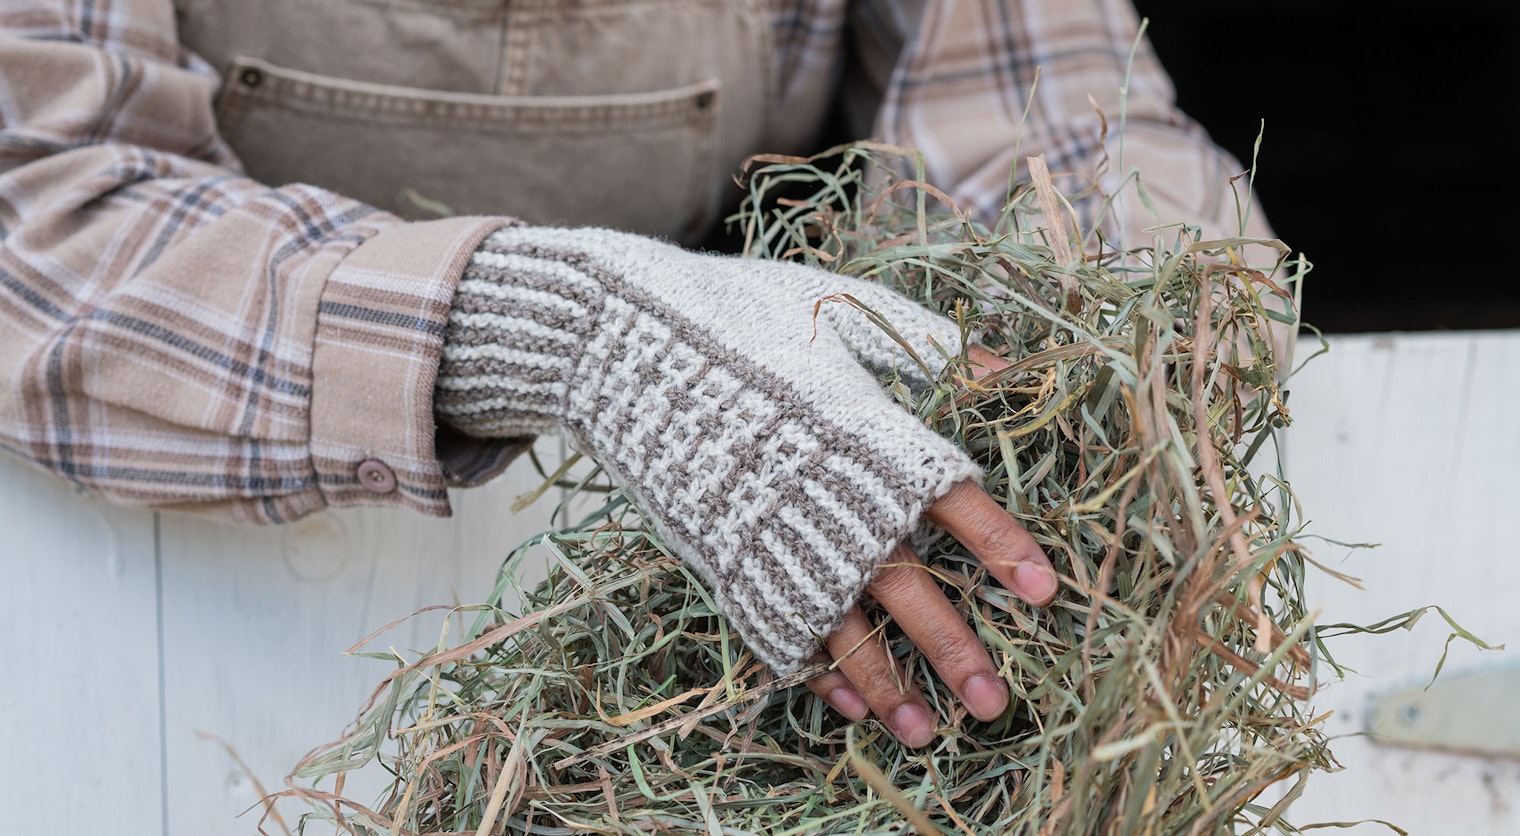
Mosaic knitting has become wildly popular in recent years, and it’s no surprise. Mosaic patterns are the perfect introduction to colorwork knitting. If you can knit simple stripes, you have the skills needed for mosaic knitting. Let’s take a close look at how mosaic knitting works and how you can use this technique to add pattern and color to your knitting.
What is Mosaic Knitting?
Mosic knitting uses slipped stitches to pull color up from previous rows, moving color vertically across your fabric. Unlike stranded-color knitting, mosaic knitting uses only one color in each row. The color is changed every two rows or rounds. Slipped stitches are interspersed with knit or purl stitches to create surprisingly intricate patterns.
The History of Mosaic Knitting
Slipped stitches have been used to bring texture to knitted fabric for many years. But the term “mosaic knitting” was coined by the great collector, creator, and documenter of knitting stitch patterns, Barbara G. Walker. Her 1970 book, A Second Treasury of Knitting Patterns, includes a chapter called “Mosaic Patterns,” the introduction to which explains the basic technique.
Walker continued her exploration of this versatile technique, and she later added hundreds of patterns to the library with Mosaic Knitting, originally published in 1976 and republished with the addition of 116 brand new patterns (!) in 1997 by Schoolhouse Press. Both of these classics are still available from Schoolhouse Press (see Resources).
I had the honor of briefly meeting Barbara Walker in 2011. She was wearing a tunic-length pullover knitted in a fine-gauge yarn with stripes of different mosaic patterns worked in bright jewel tones combined with black. It was spectacular, and a fitting garment for the mother of mosaic knitting.
How Does Mosaic Knitting Work?
Mosaic knitting is built on a foundation of two-row or two-round stripes. The stripes are interrupted when one or more stitches are slipped, pulling the color from the row below up into the row currently being worked.
The slipped stitches are always slipped as if to purl, and always with the working yarn held to the wrong side of the work. Mosaic knitting can be worked either flat or in the round. It can be based on either stockinette stitch or on garter stitch. Mosaic patterns appear squarer and more nubbly when worked in garter stitch. In stockinette stitch, the patterns produce curvier lines with thicker horizontal elements.
 Stitches on the right side (RS) of the work are always slipped purlwise with the yarn in back. It's as easy as that! Insert your needle into the stitch as if to purl (left), move it over to the working needle (right), and keep going. Photos by Kate Larson
When working mosaic motifs, the first row of a stripe (the right-side row, odd-numbered row, or odd-numbered round) establishes the sequence of knit and slipped stitches. The second row of the stripe (the wrong-side row, even-numbered row, or even-numbered round) follows that established sequence. (See a video of how this works on our Instagram channel.) So, if a stitch was knitted in the first row of the stripe, it is knitted (for garter stitch knitted flat or stockinette stitch knitted in the round) or purled (for garter stitch knitted in the round or stockinette stitch knitted flat) in the second row. If a stitch was slipped in the first row, it will be slipped in the second row. Remember, all slipped stitches are slipped as if to purl with the yarn held to the wrong side.
Mosaic Knitting Charts
The first mosaic knitting patterns were written out row-by-row. Depending on the intricacy of the pattern, this can lead to lengthy instructions. With the increasing accessibility of digital chart-making tools, most designers prefer to present mosaic patterns in the form of charts.
The format of mosaic knitting charts varies. Some show only the right-side rows, relying on the knitter to mirror the sequence of knits and slips on the following row. Some only show the color used for each pair of rows, omitting any stitch symbols. Others show every row along with symbols for knit, purl, and slipped stitches.
Here are two examples that represent the same mosaic pattern I used in the Mosaic Mitts pattern. They are different, but equally valid, ways of charting mosaic patterns.
Knit a Homelands Hat (Or Three)
Tressa Weidenaar’s inspiring design is a delight to knit, and you’ll have enough yarn left over to make one for a friend!
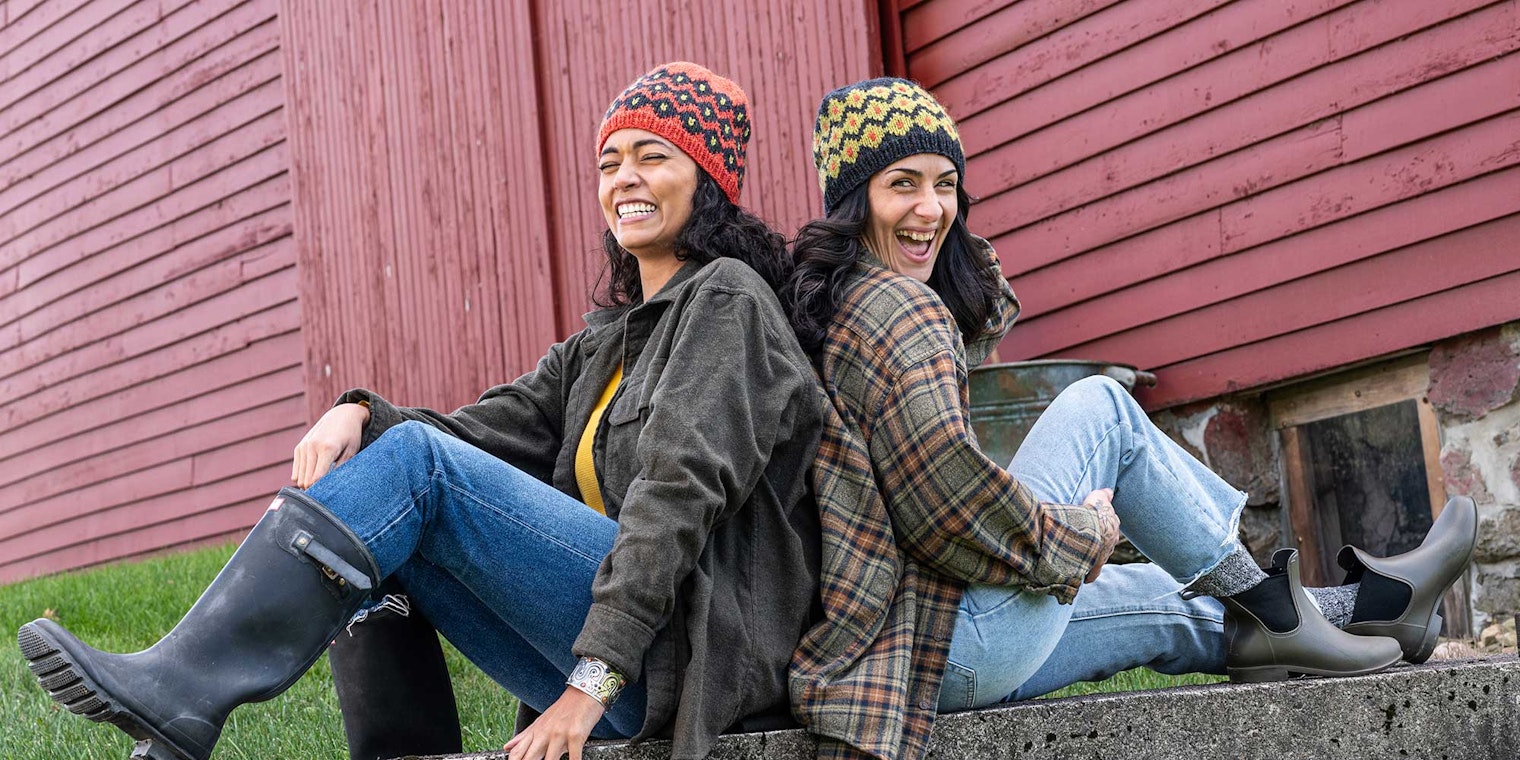
If you’re looking for a fun hat pattern to knit for yourself or a loved one, look no further than Tressa Weidenaar’s Homelands Hat. Knit from brim to crown with bands of stranded colorwork diamonds and no more than two colors per round, it’s an eye-catching accessory you’ll reach for all season long!
Symbols of Home
While diamond patterns exist in many textile designs, they hold a special meaning in the Homelands Hat. Tressa writes:
Diamonds in Navajo weaving can mean different things, but I like the idea of them representing the land that is Navajo country. There are four mountains that surround the Navajo Nation, one in each cardinal direction, which can be seen as a diamond shape. I think of these diamonds as a way to remind ourselves and others that there is a homeland for the Navajo people that is very important (the repeating patterns emphasize that), and this homeland still exists today. This land is also where my heart is, as I love my homeland and like to create designs that remind me of where I come from.
 While the diamond pattern in the Homelands Hat may appear simple, it holds deep meaning.
Wool with Purpose
The Homelands Hat is knit with Peace Fleece Worsted Weight, a blend of 50 percent Navajo Rambouillet, 30 percent domestic fine wool, and 20 percent Mohair. Peace Fleece works to offer fair market prices for wool raised by families in the Navajo Nation. This yarn is lightweight and tweedy, with a slight halo from the Mohair content.
 The Homelands Hat uses three colors of Peace Fleece.
Coordinating Colors
To create the diamond colorwork pattern in the Homelands Hat, you’ll need at least two colors of yarn. With your leftovers, you can make a second hat in a reverse color pattern. Or, buy a third skein of yarn to create an added pop of color in the center of each diamond shape, and you’ll have enough yarn to make a third hat by rotating the colors of the motif. The result is something you and your friends will all enjoy!
 You'll have enough yarn left over to knit another hat (or two) by changing your main and contrasting colors.
Cast One On Today!
Whether you knit one, two, three, or more, the Homelands Hat is an essential knit this season. Start yours today!
Subscribers can find the Homelands Hat in the Farm & Fiber Knits Library.
A Knitter’s Guide to Dye Plants
Take a look at the beautiful colors a dye garden can produce in your yarns. Plus, subscribers can download a plant guide and growing zone chart to help you plan a spring dye garden of your own!
I hadn’t thought much about natural dyeing because I’ve always bought already-dyed yarn from a yarn shop. That is until I watched farmers Tammy White and Carole Foster talk about dyeing their yarns in Episode 4 of The Yarn Chronicles.
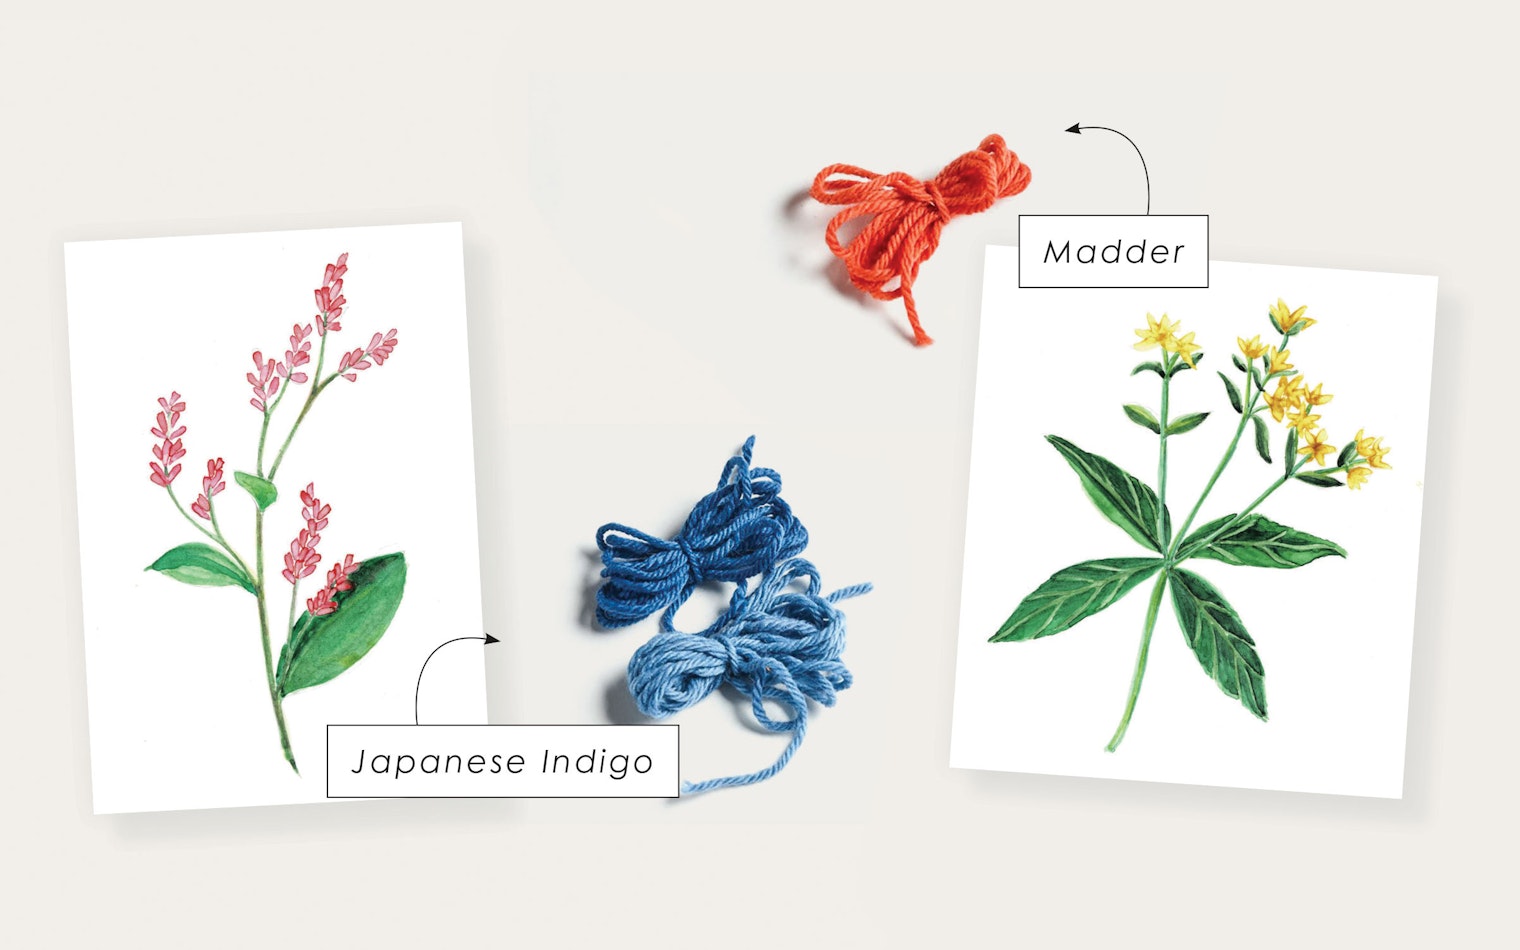
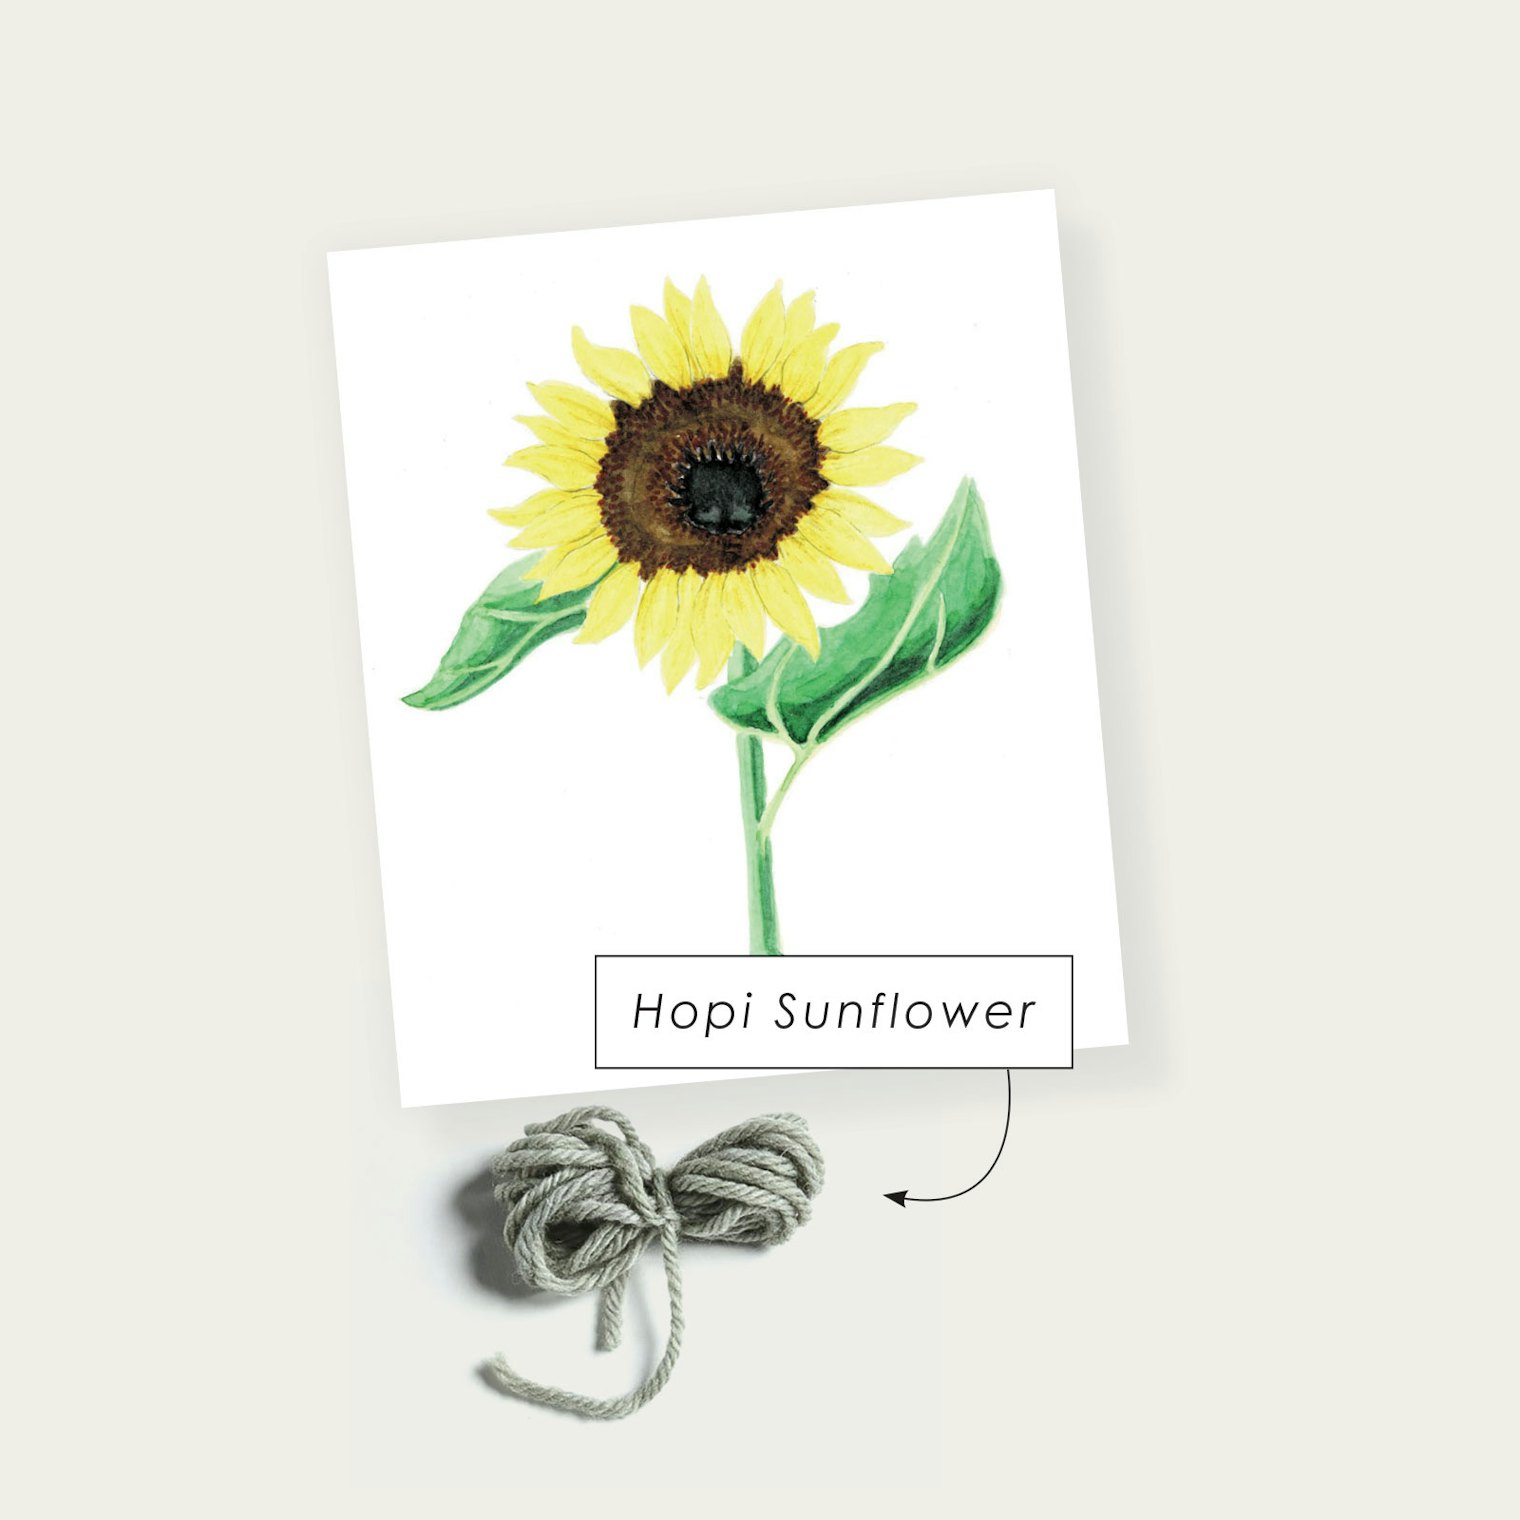
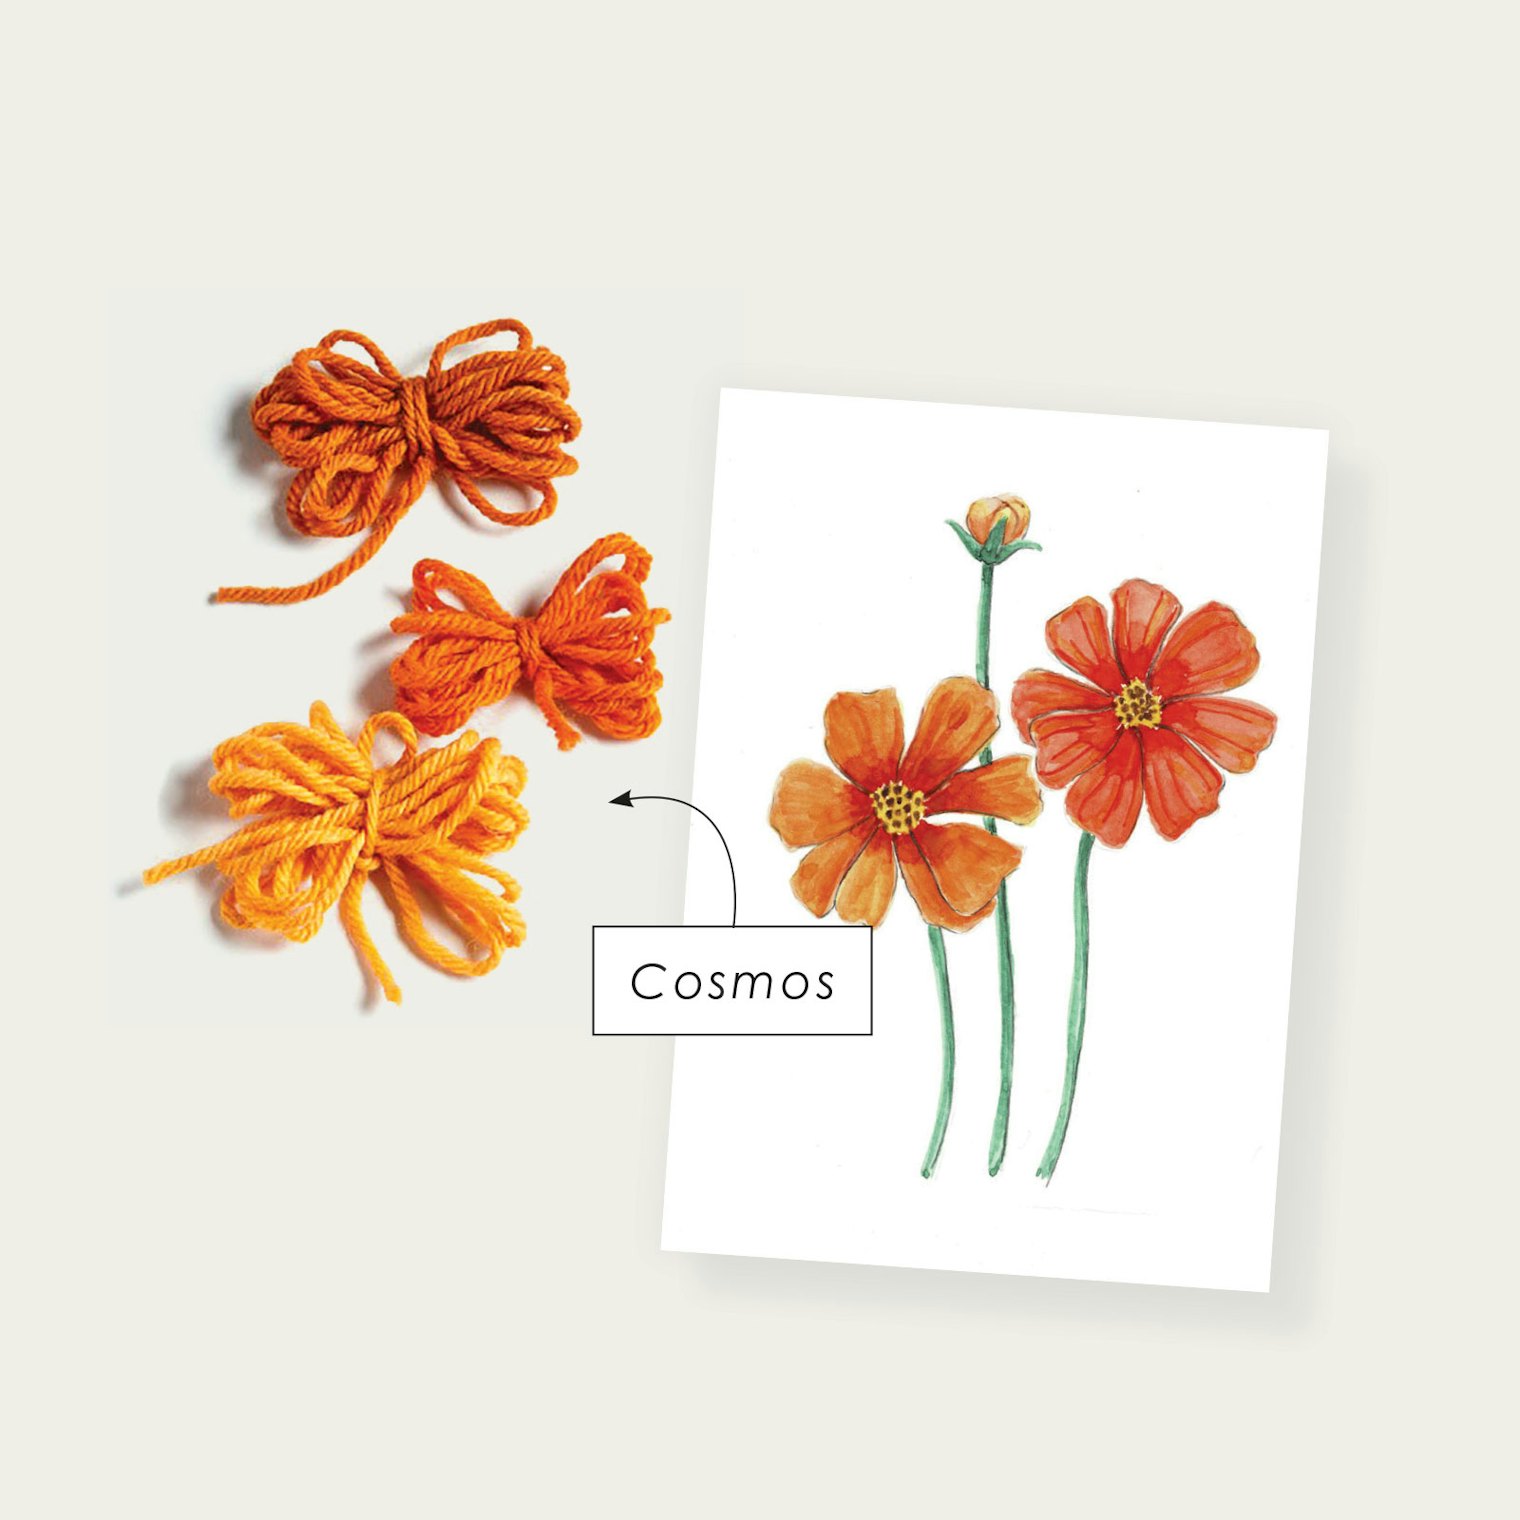
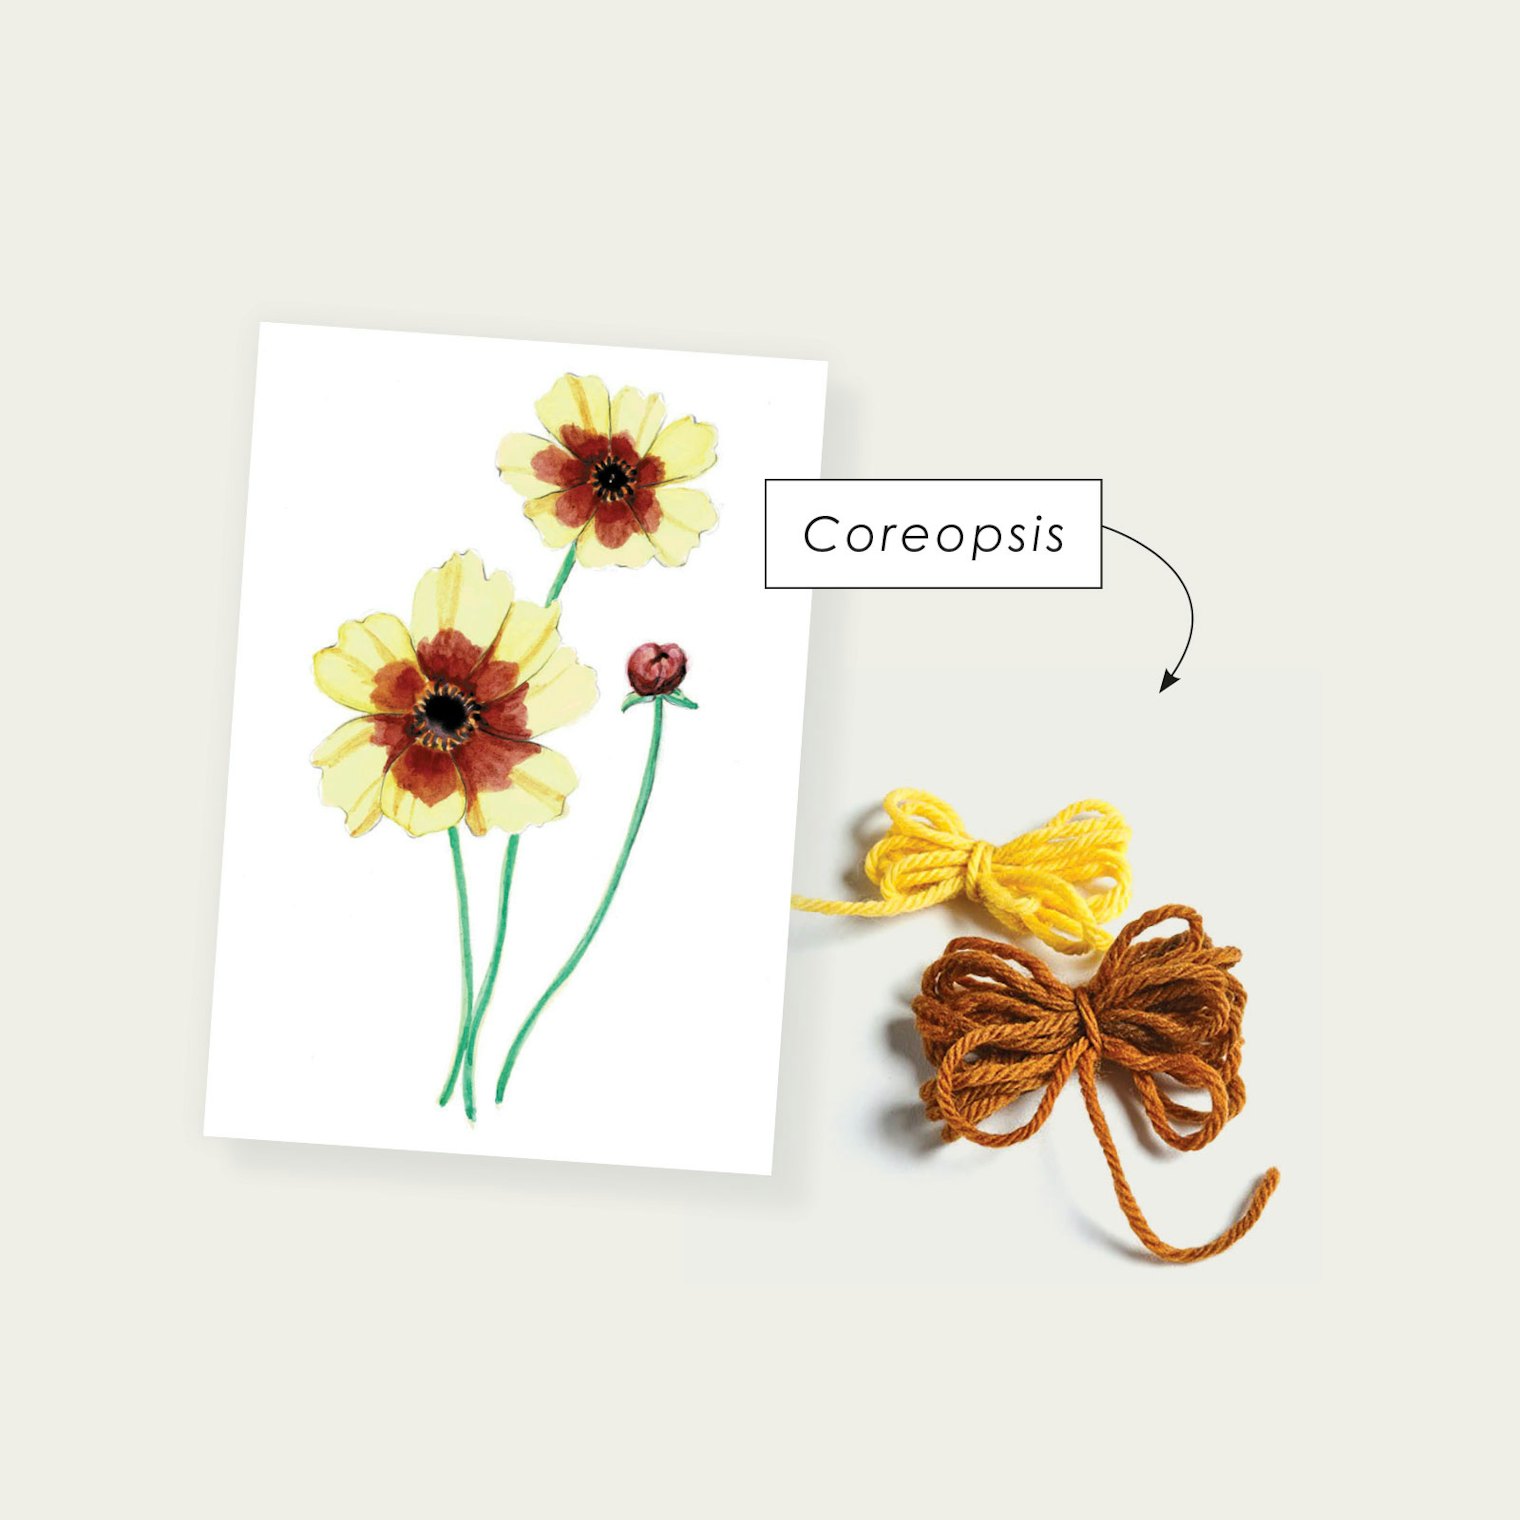
In this episode, Tammy describes her dye garden of marigolds, Hopi sunflowers, weld, indigo, and more, which she uses to dye skeins of yarn at Wing & A Prayer Farm. Carole and her family grow dye plants such as indigo, madder, and coreopsis for Foster Sheep Farm’s home-grown yarns. Knitwear designer Norah Gaughan talks about falling in love with the yarn for her Wee Cardi pattern. This colorway gets its green hue from indigo, marigold, and onion at Wing & A Prayer.
 The yarn for the Wee Cardi pattern by Norah Gaughan was dyed (by Tammy White) using indigo, marigold, and onion skins. Photo by Gale Zucker
Though Carole and Tammy show several examples of naturally dyed yarns in the episode, I wondered what colors those plants would create on their own. That curiosity led me to Long Thread Media’s book Nature’s Colorways. Donna Brown and the Janice Ford Memorial Dye Garden gave samples and information used in the book to create a gallery of yarn samples with their dye plants, which includes several of the plants mentioned in Episode 4.
The color results are sometimes exactly what you’d think and other times totally unexpected. For example, indigo plants dye in gorgeous blues, but using Hopi sunflowers on a white yarn creates a beautiful silver color! The orange-flowered marigold gives a yellow dye, but the bright yellow of cota yields a bright orange. As Carole mentions in the video, the color of the base fiber impacts the dye colors (a gray base will dye differently than a white or cream), but how cool are these plants? I love how you can use plants, bark, lichens, kitchen scraps, and more and combine several items to produce astounding colors.
Get a closer look! Click any image in the gallery to open it in full-screen mode.
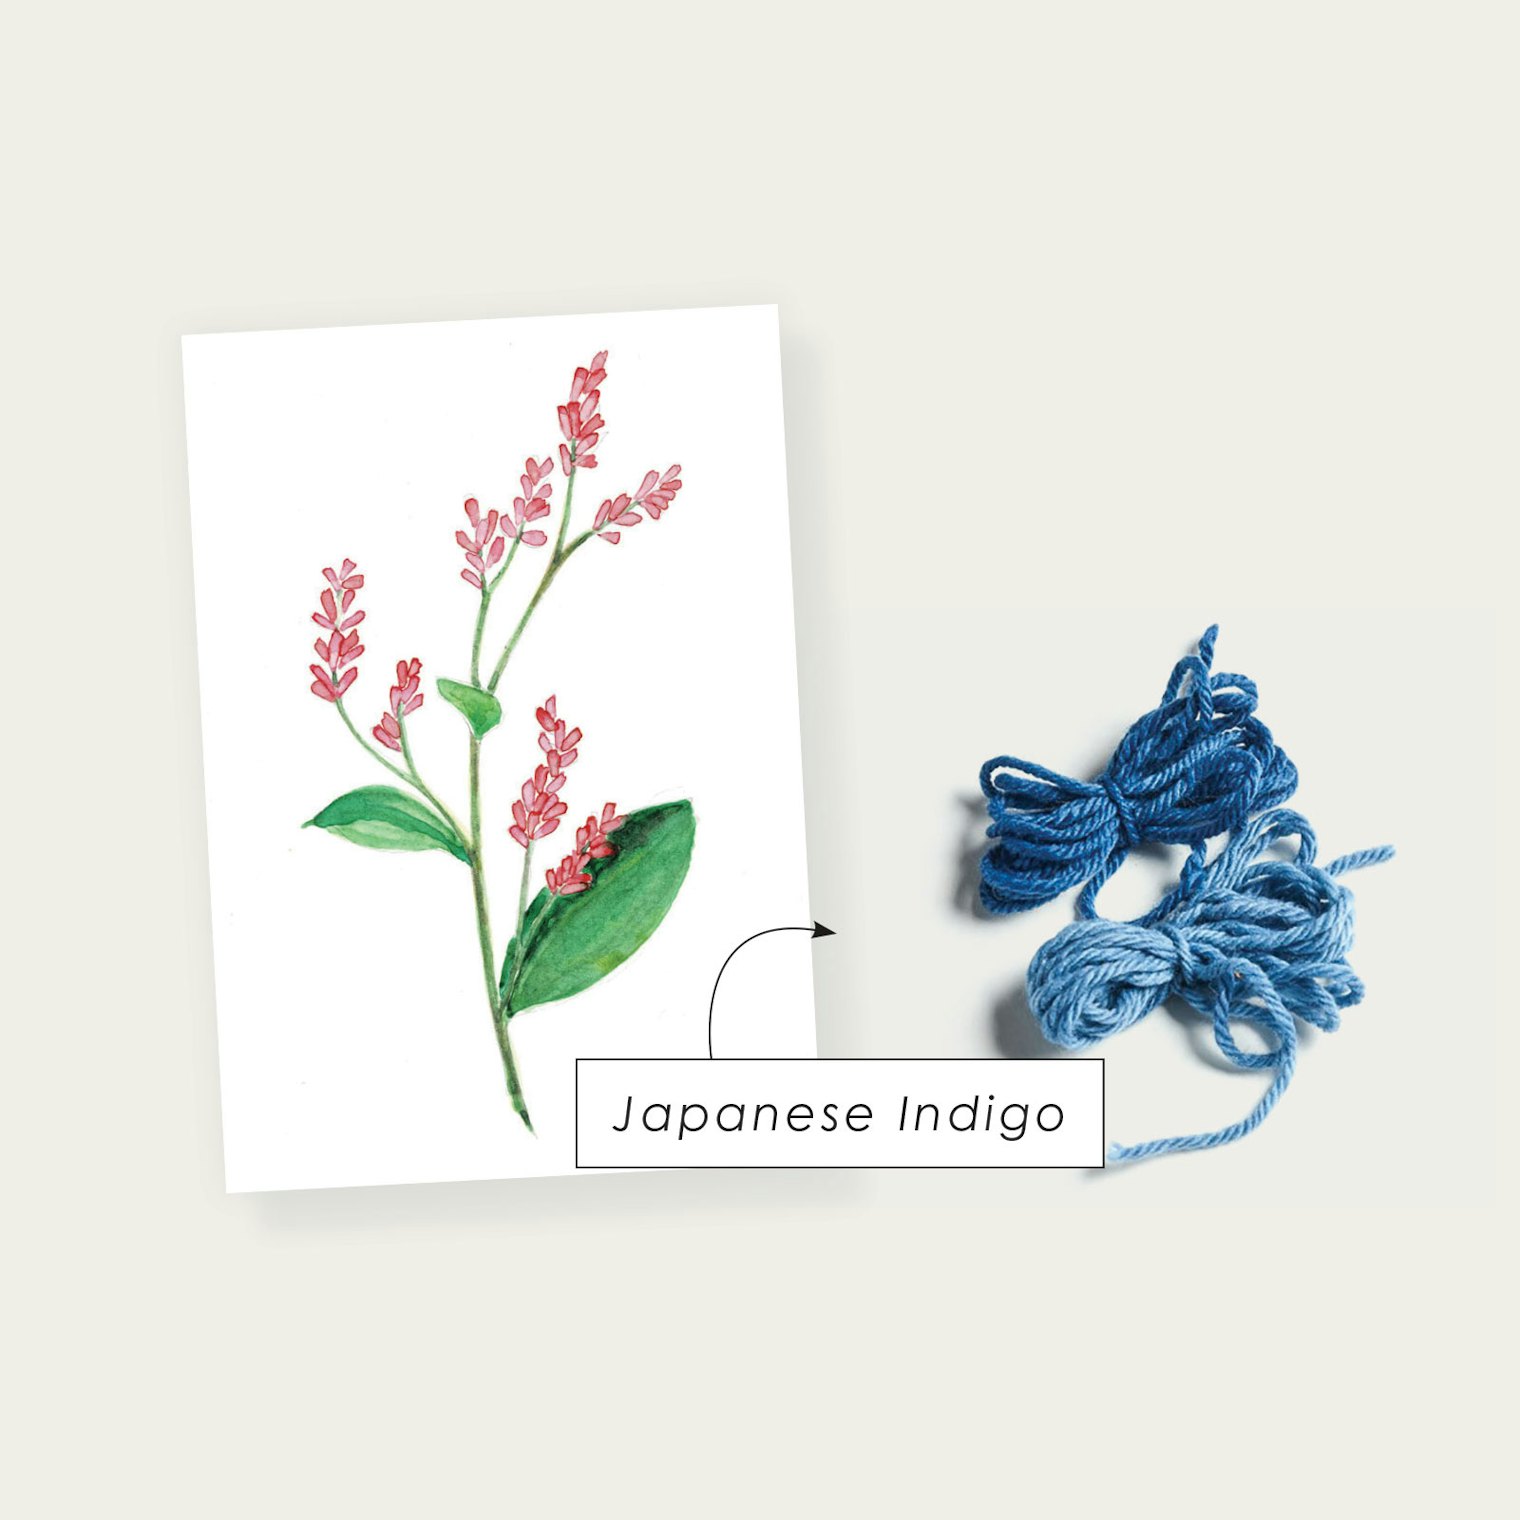
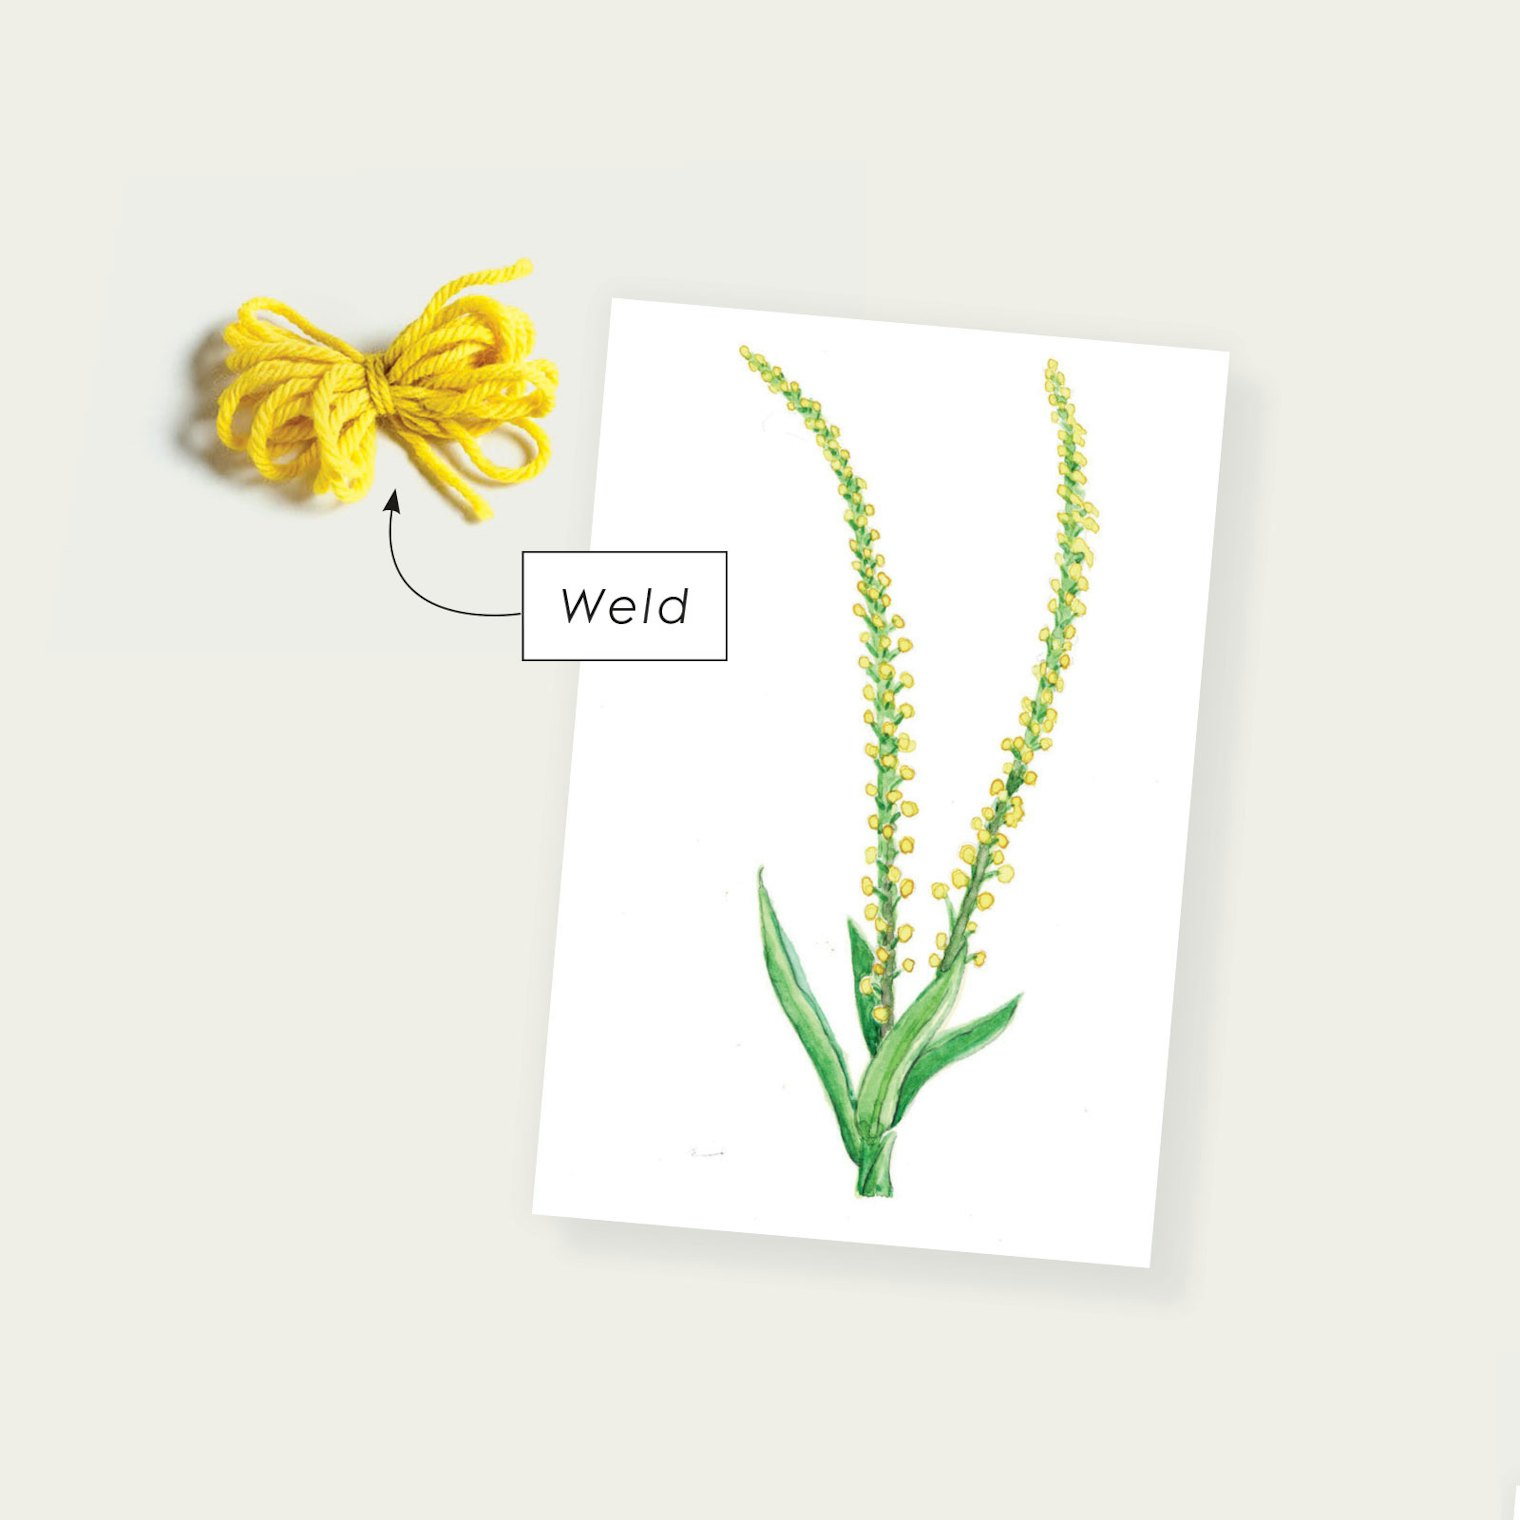
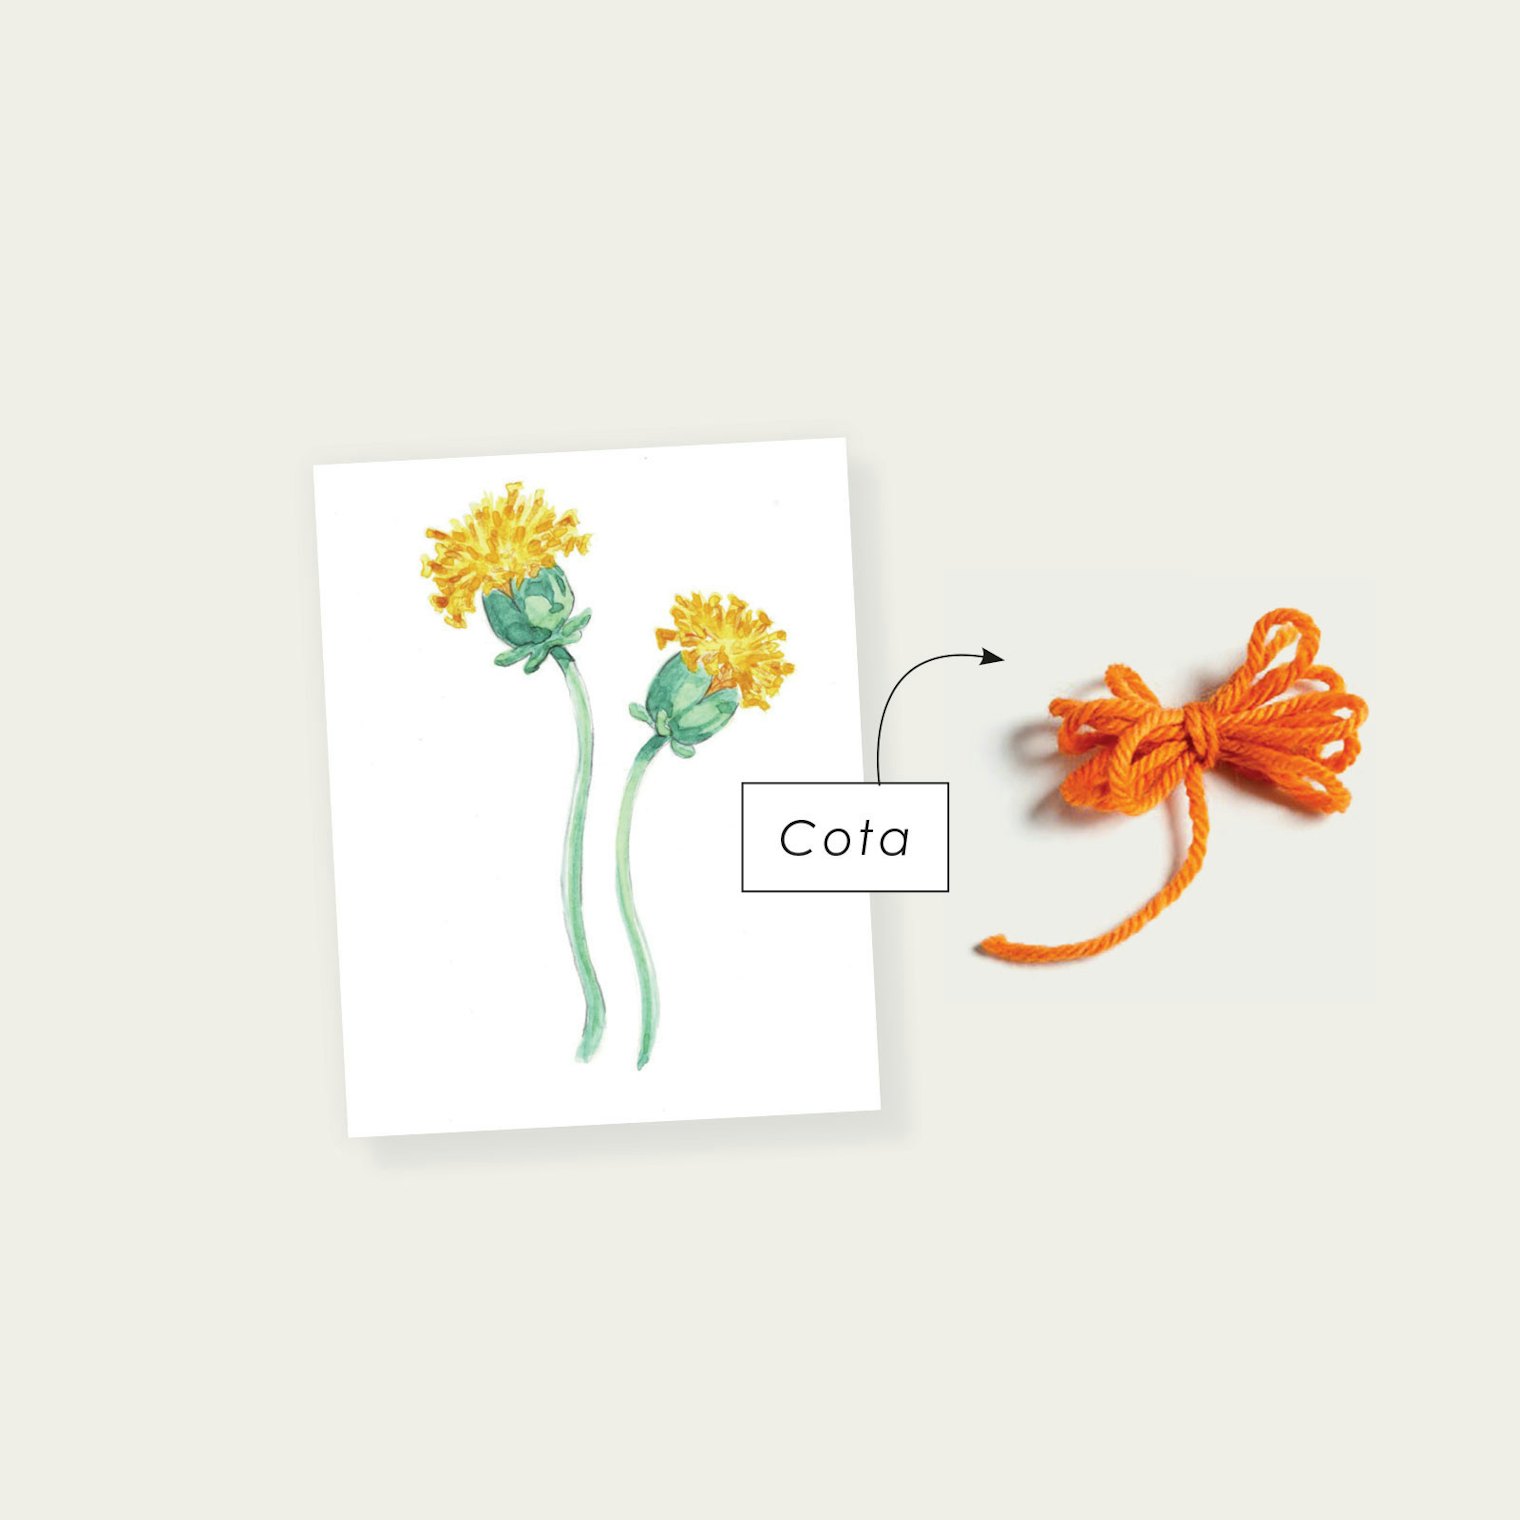
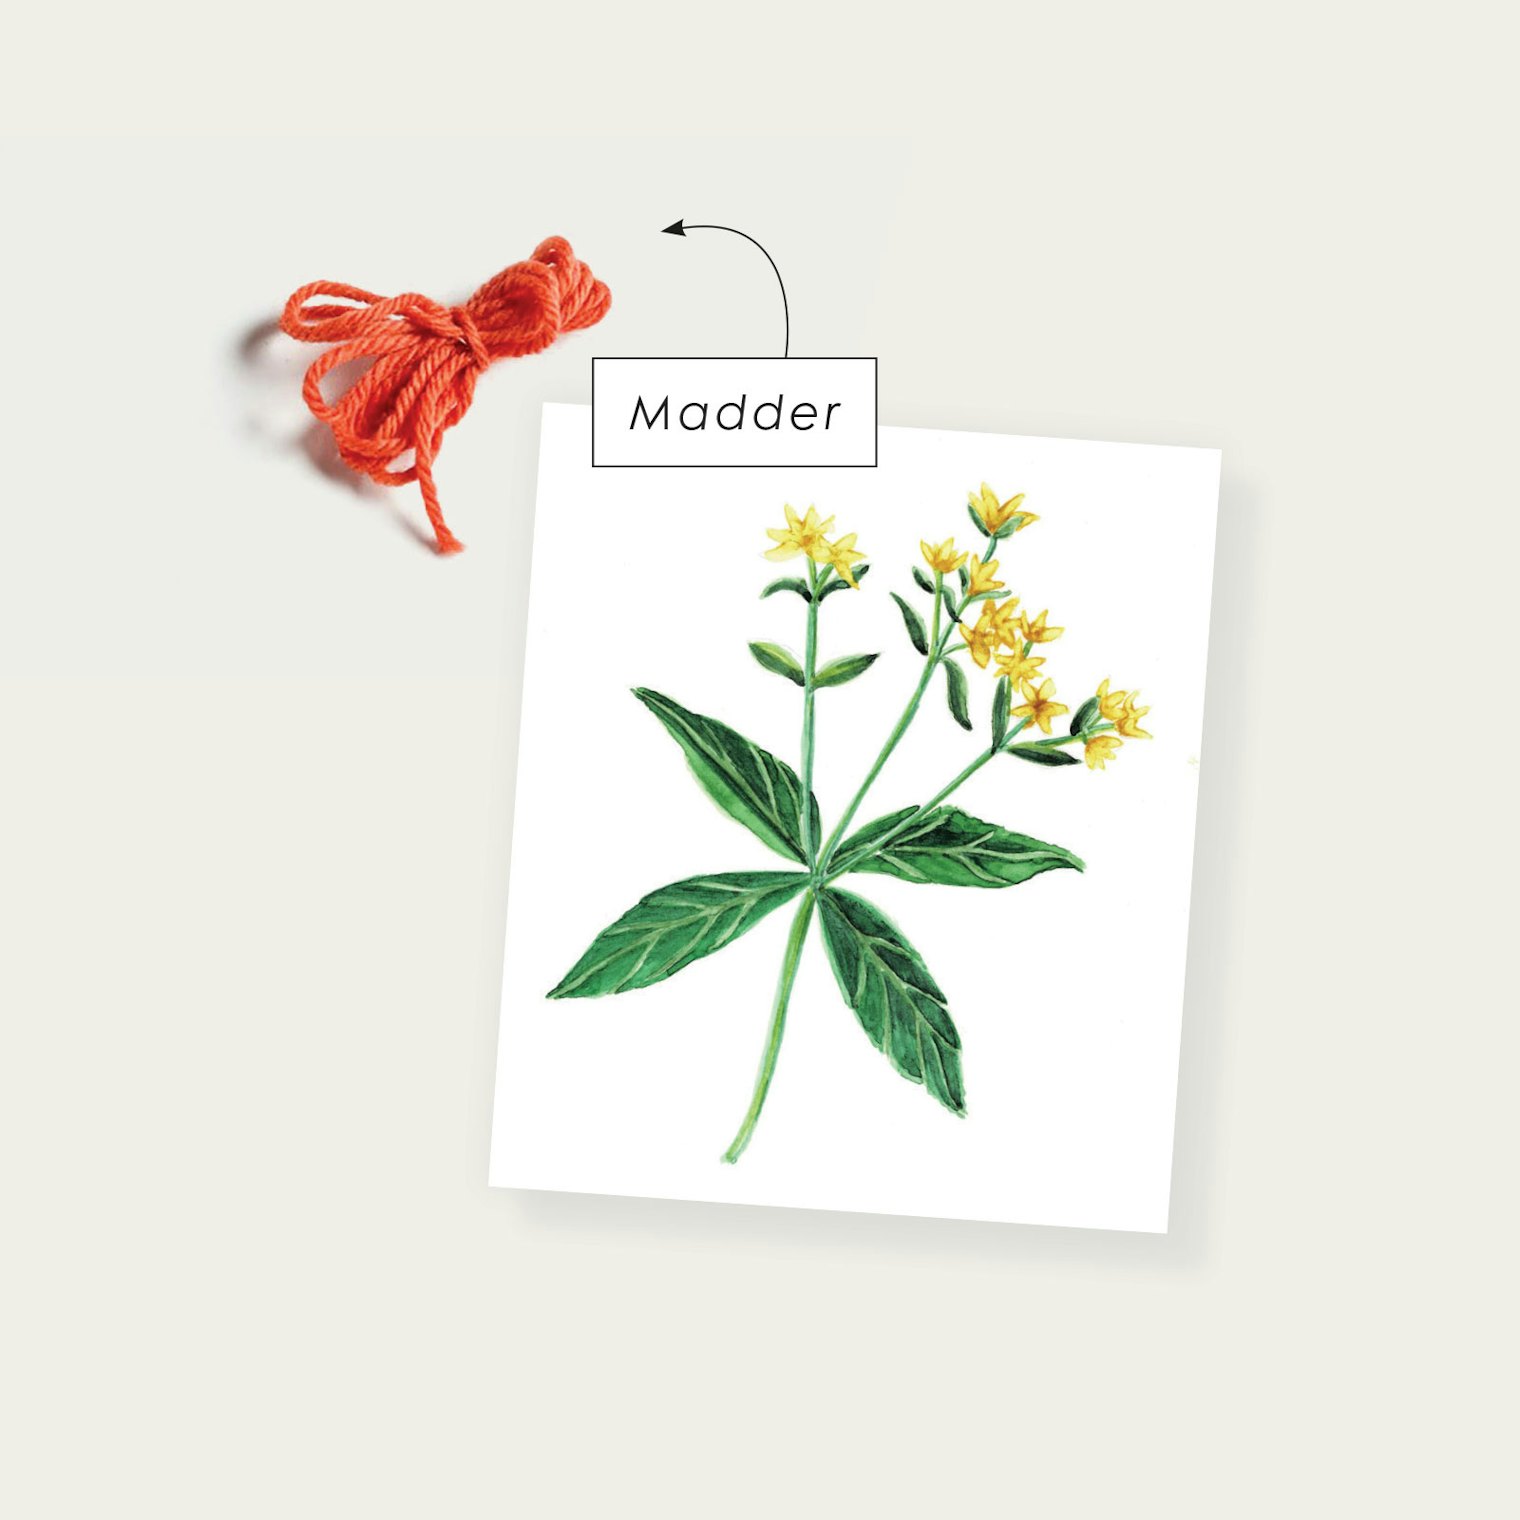
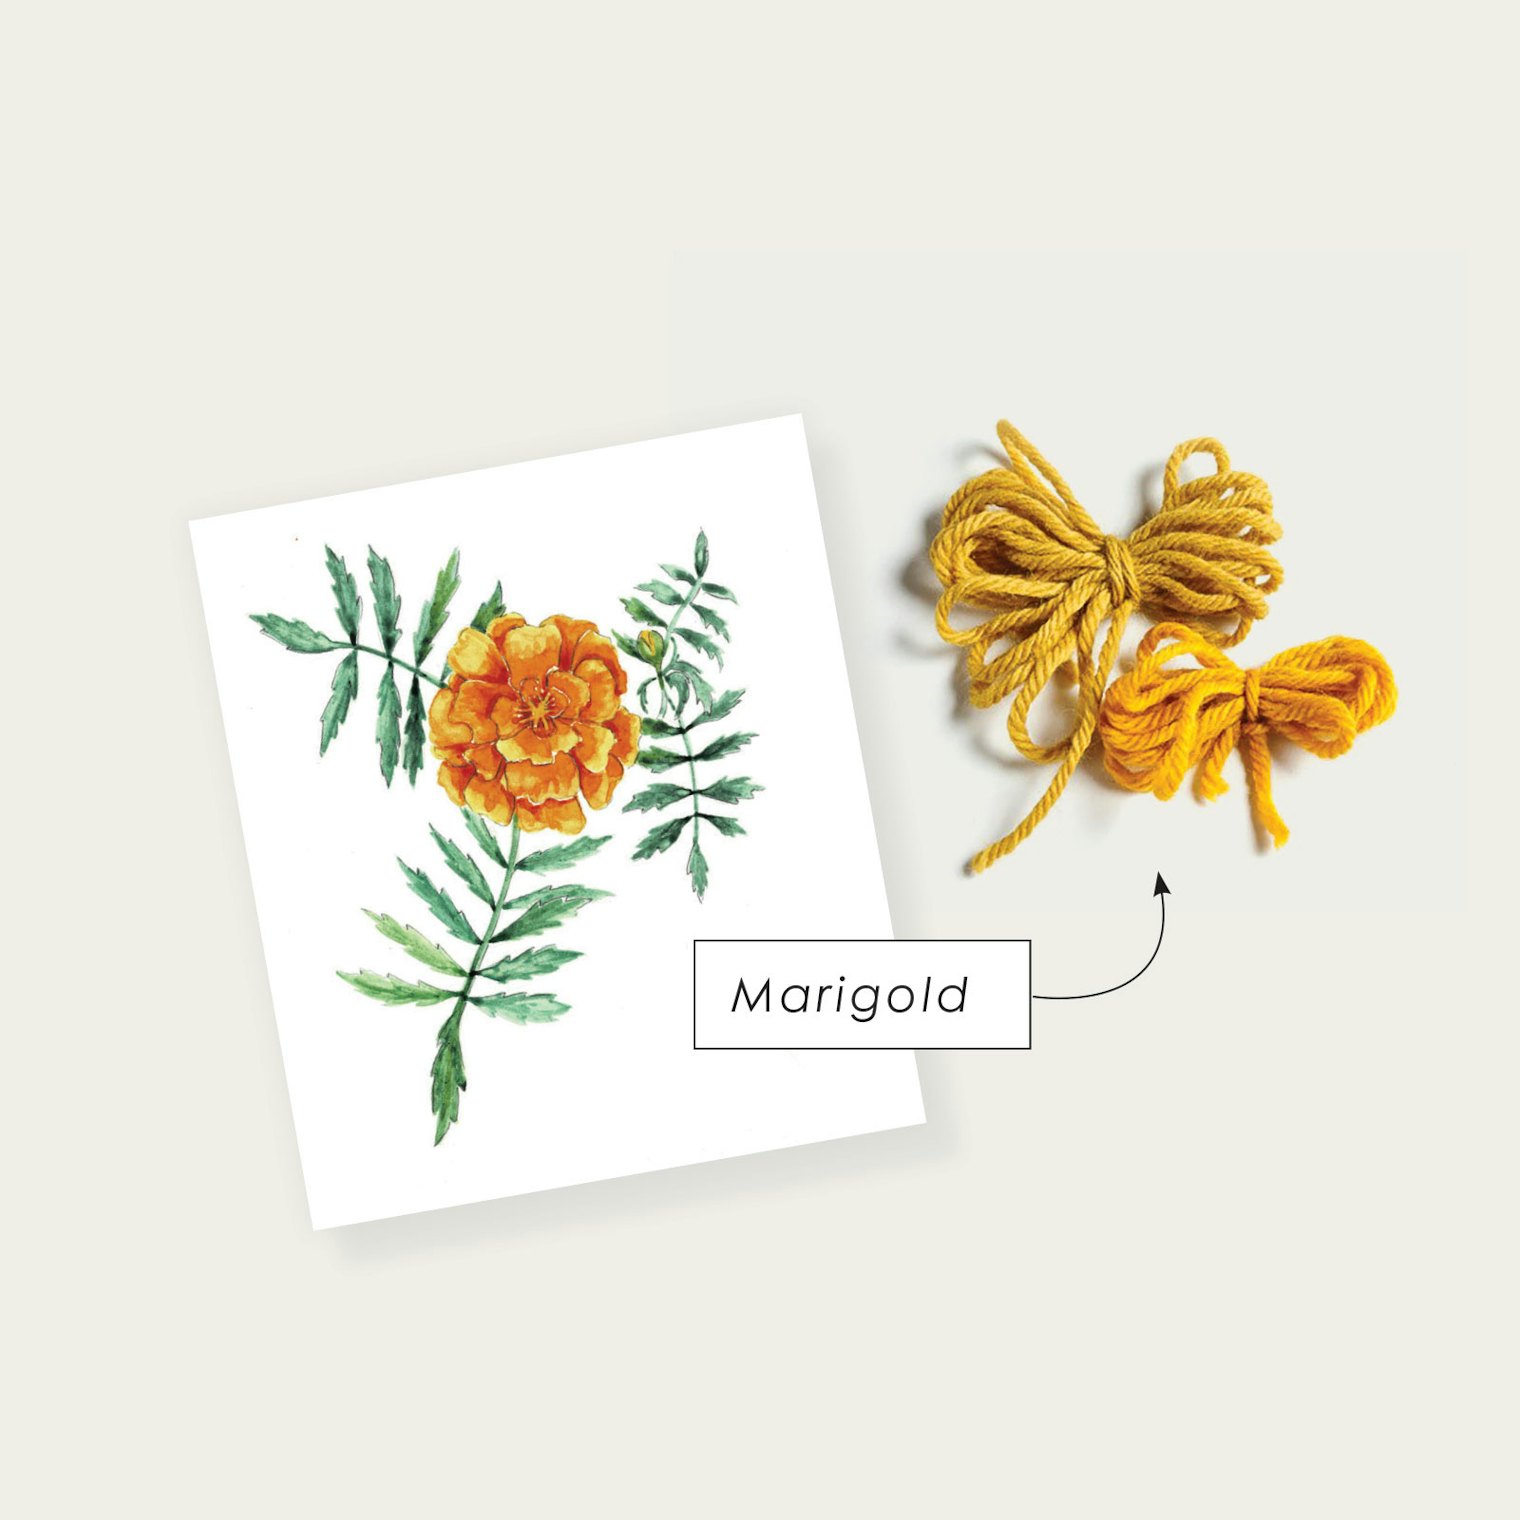
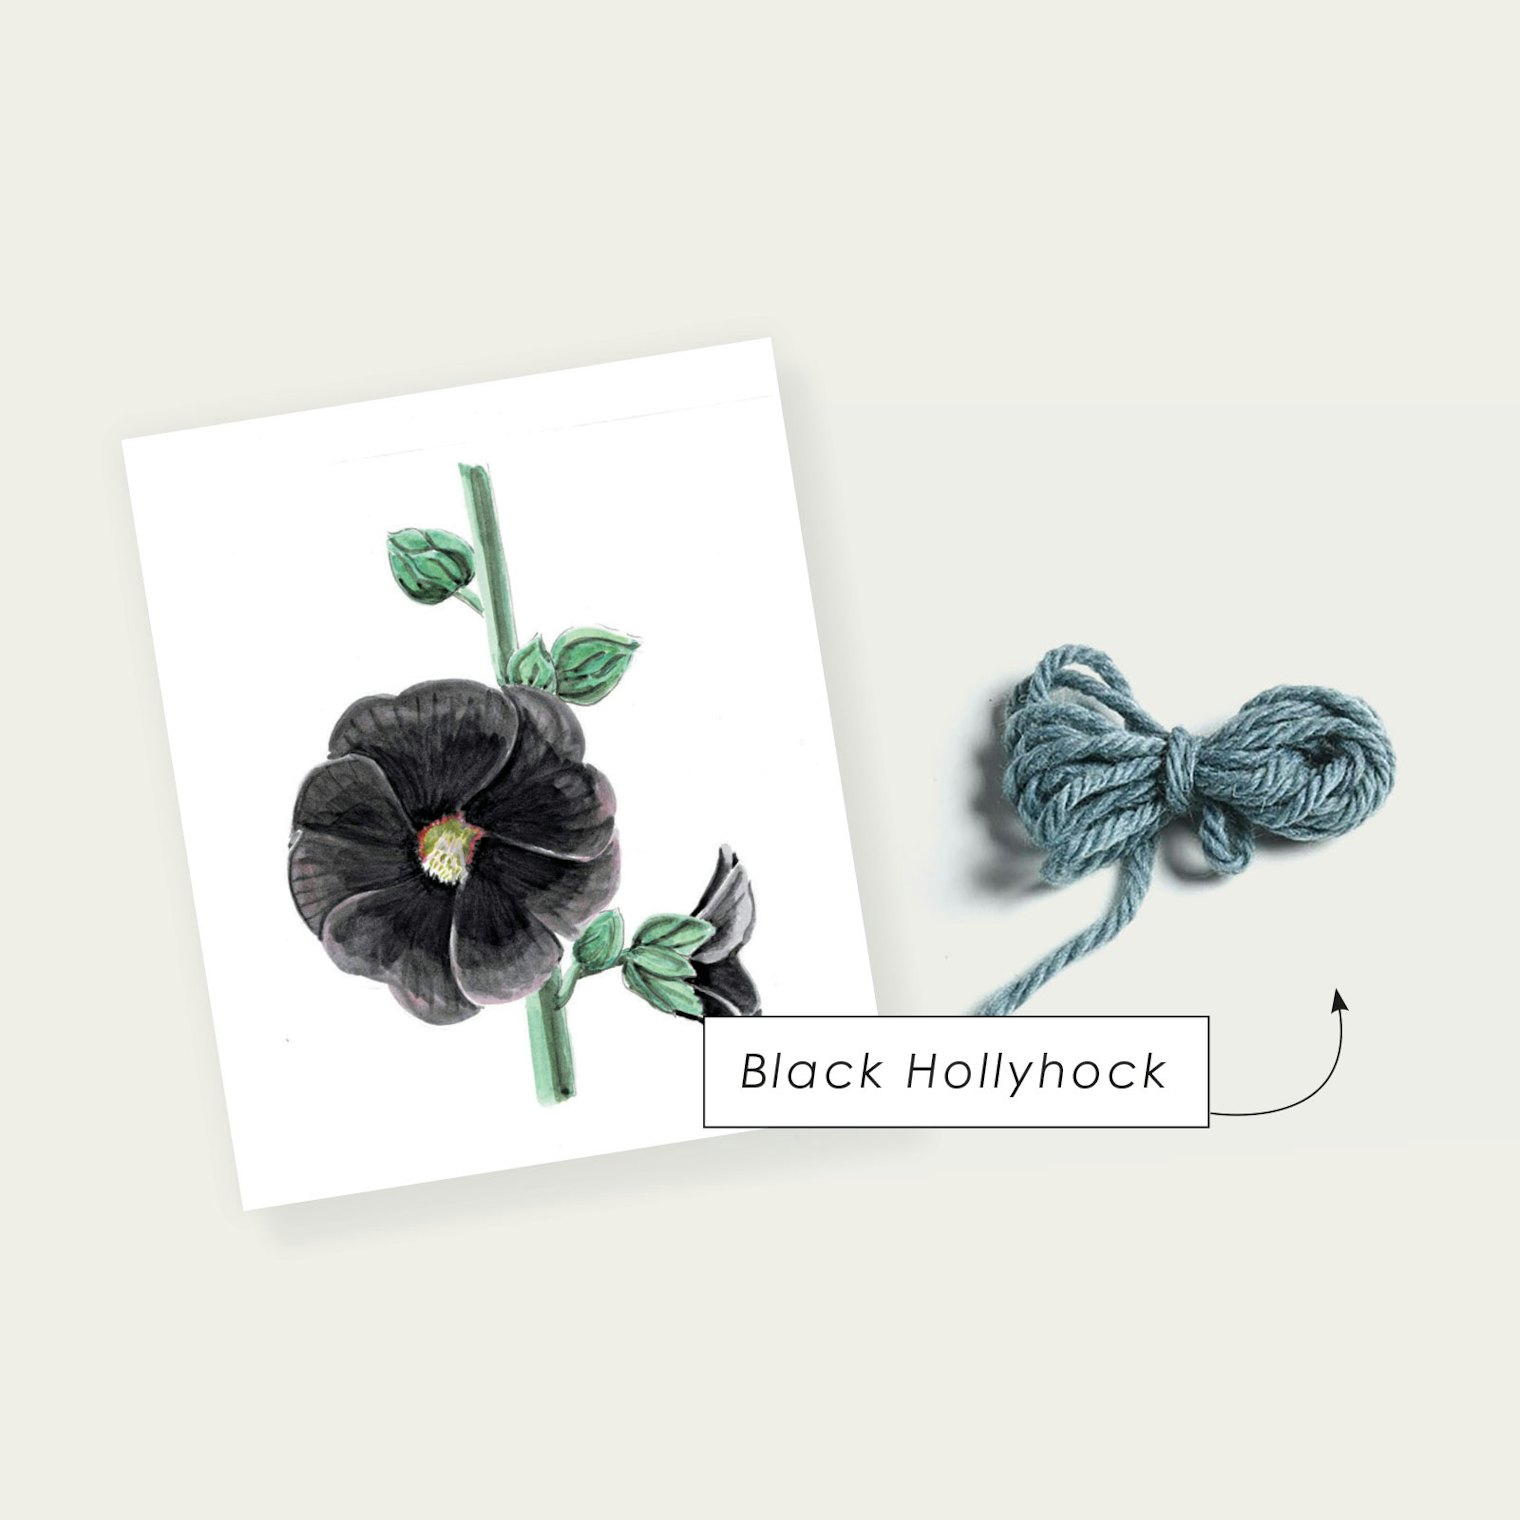
As I dug in more, I found natural dyeing to be more and more intriguing. It’s about bringing together chemistry + natural ingredients, just like in baking! Once you have the proper knowledge and understanding of precautions to take, natural dyeing is also safe to explore at home.
If you are interested in planting your own dye garden, you only need a little space, basic gardening skills, and a sense of adventure. For a guide to some common dye plants, growing zones, and the colors they produce, see this subscriber bonus download in the library.
May all your color dreams come true!
~Tiffany
Relax with an On the Farm Cowl this Holiday Season
Don’t forget to pack a fun knitting project to ease the tension of holiday travels!
I look forward to a slice of pie every holiday season, but the bigger treat is hours of travel, with nothing to do but knit. Once we reach our destination, I’ll spend plenty of time helping in the kitchen. Later, I'll need something to keep my hands busy while everyone is gathered around the TV, whether we’re watching the parade or the big game.
For a long holiday weekend, I like to have at least two projects—one that’s simple and mindless, like a plain pair of socks, and one that promises to capture my attention, that builds a skill, that gets me fired up to knit. Ideally, my travel knitting projects won’t be too big, either. While I’ve certainly hauled sweaters and blankets around on road trips, they become unwieldy and difficult to manage.
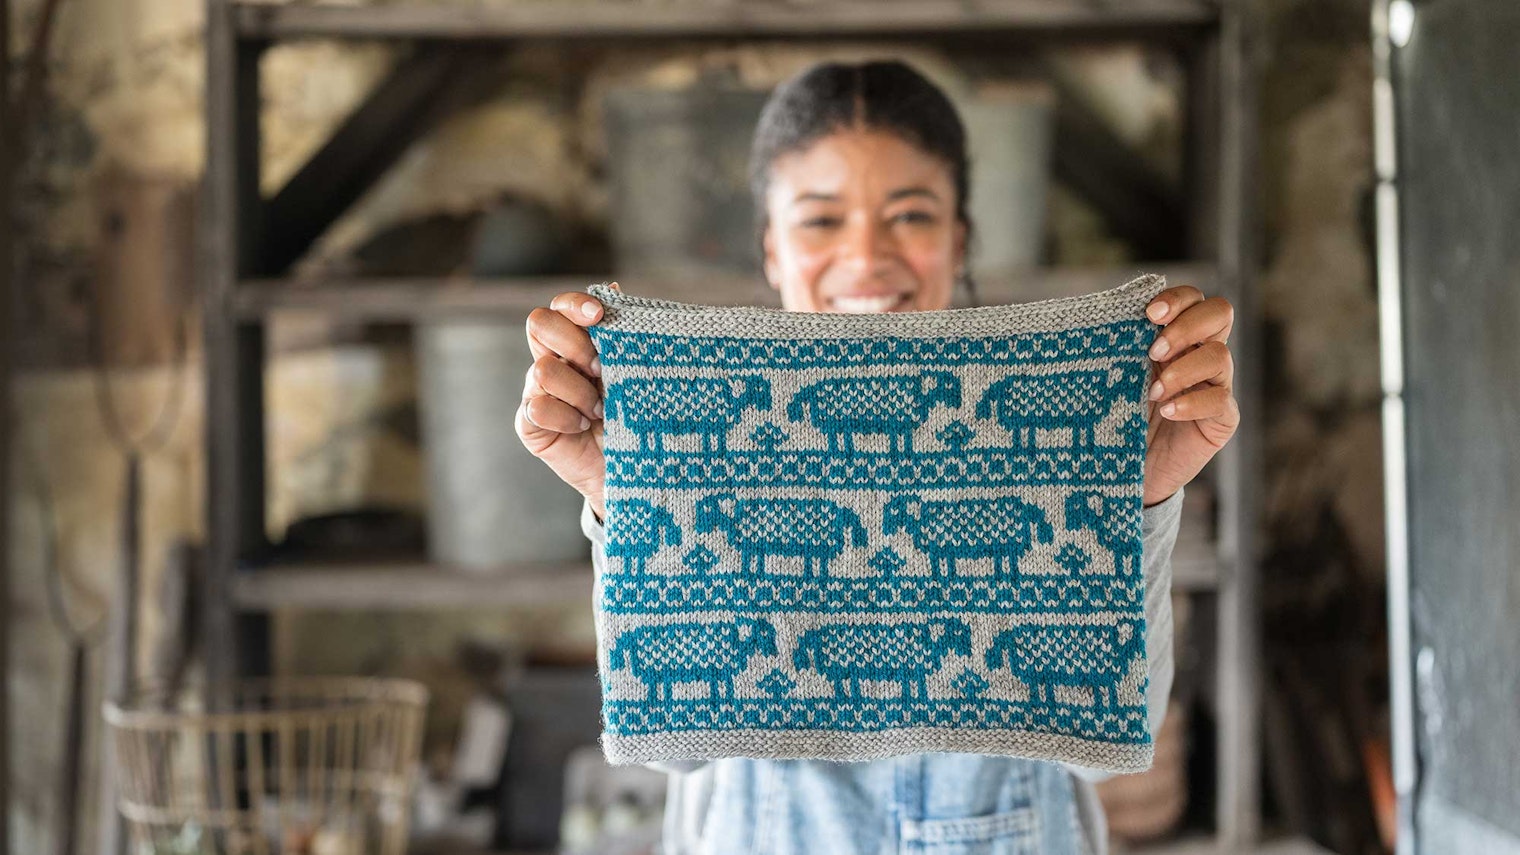
The instant I saw Tanis Gray’s On the Farm Cowl, I knew it was the perfect travel knitting pattern. With your own personal flock of sheep grazing around knitted plains, it’s both fun to knit and a gorgeous accessory to wear.
 Tanis Gray's On the Farm Cowl is worked in the round using stranded colorwork.
Don’t Forget Your Needles!
As you pack your project, don’t forget that your needles are just as important as your yarn! The On the Farm Cowl uses stranded colorwork, one of my favorite techniques. To select your needles, you want to consider both the gauge of the project, and the finished dimensions.
Looking at the pattern information, I see the finished circumference of the On the Farm Cowl is 26″ (66 cm). Depending on how you knit, a 24″ circular needle might work for you. But it could just as easily be frustrating. The key is that you don’t want your stitches stretching too far around a long needle, nor do you want them crammed together on a short needle.
Both situations will result in distorted colorwork! Luckily, you have options. You could choose a much longer needle and use the Magic Loop technique, or you might want to choose to use two sets of circular needles, with one set on each half of the cowl. Either way, be sure to spread out the stitches you just knit. This will help you to keep an even tension, with floats that are neither too long nor too short.
 The On the Farm Cowl is an enjoyable project to knit, perfect for a holiday escape.
Caught in a Trap?
Typically, stranded colorwork patterns avoid long floats. What is a long float? The answer depends on your gauge, but the rule of thumb is that any float that travels more than seven stitches or an inch is considered a long float and something to be avoided. The concern is that a long float might snag on jewelry or fingers as you put on the garment—and no one wants to be stuck in that trap!
Personally, I tend to live on the edge and have knit many absurdly long floats with no dire consequences. I find that when done properly, they blend into the fabric just fine, and I’m careful to avoid snagging them when I put on the garment.
However, if you’d like to play it safe (or if you’re knitting for someone else), you might want to consider trapping your long floats. Rows 10, 11, and 20 of the On the Farm Cowl have long floats—one is twenty stitches long!
To trap your floats, simply twist the non-working yarn around the working yarn at the back side of the fabric, about once every five to seven stitches. This will help that long float blend into the fabric in a more secure way.
 Your On the Farm Cowl is like having your own personal flock of happy sheep!
Start Your Adventure Today
Pack your yarn and needles, download the pattern from the library, and get ready to embark on a wooly knitting adventure this season with your own On the Farm Cowl. (And don’t forget to enjoy the pie!)
Subscribers can access the On the Farm Cowl pattern in the Farm and Fiber Knits Library.
Colorwork Tension Trouble: 3 Common Problems and How to Fix Them
The Rustic Colorwork Hat is the perfect project to test your tension.
By Kate Larson
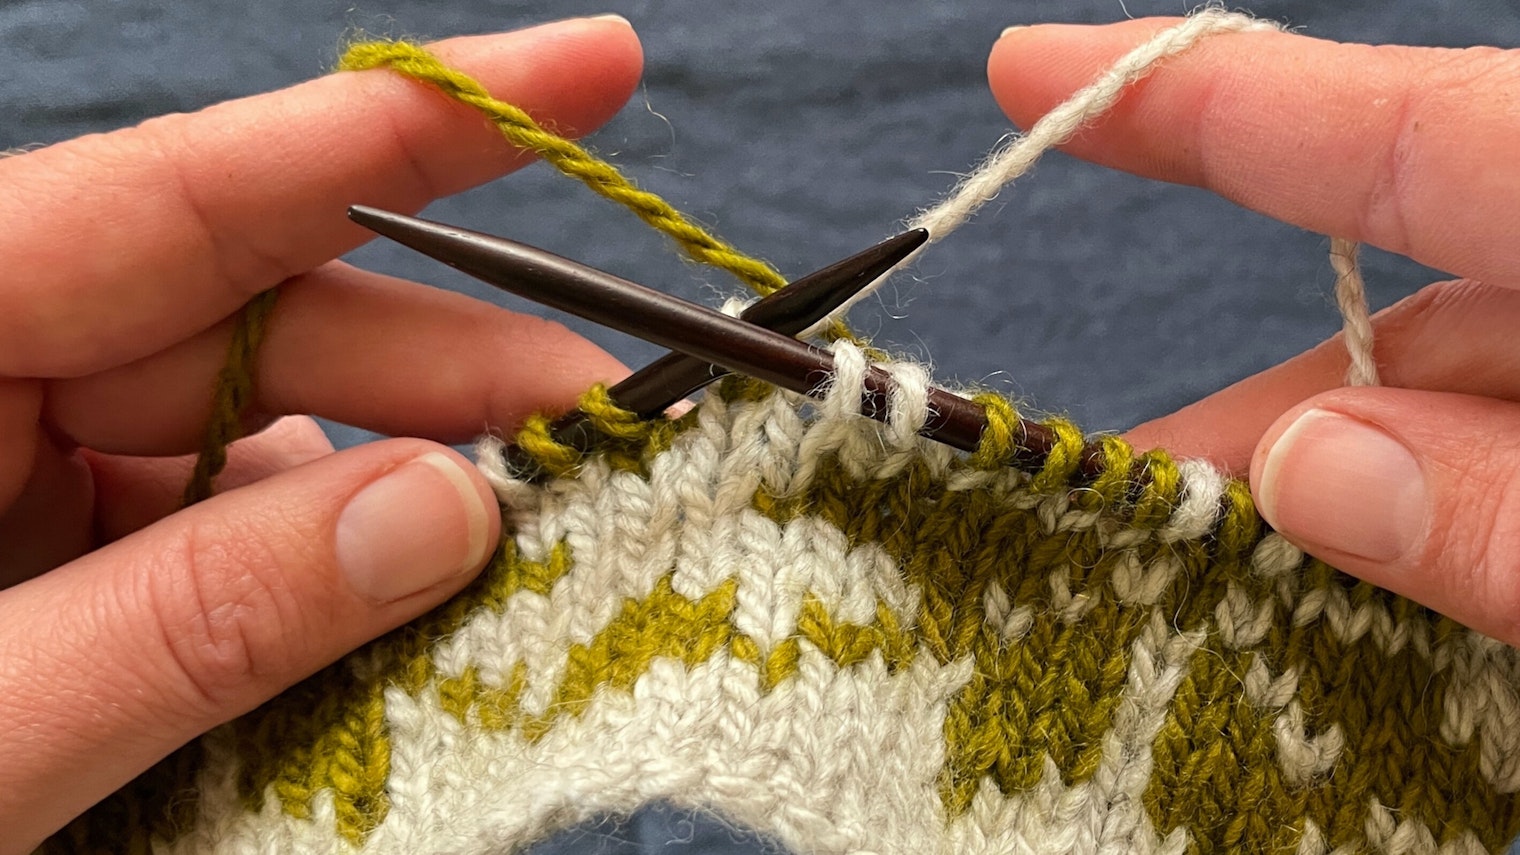
Do you struggle with bubbles and puckers or uneven stranding with some colorwork projects? First of all, don’t judge the work until it is wet blocked; it might all come out in the wash. But what should you do if something is still amiss after it’s washed and dried?
The new issue of Farm & Fiber Knits has a great range of stranded motifs, ranging from a few rows of stranded stitches between color blocks to an intricately patterned cowl. The combination of different motifs, projects, and personal knitting styles means that the solution to colorwork-tension problems can be nuanced. Sometimes we need to take a closer look at our fabric to determine how to adjust.
Using the chart from Jen Geigley's Rustic Colorwork Hat in the new issue, I created a set of swatches with various tension issues and one with my “ideal” tension. If you are trying to fine-tune your colorwork knitting, here are some go-to tips for smoothing puckers, relaxing dense fabric, and fixing uneven stitches and strands!
Problem: Puckers.
Tip to Try: Spread the stitches out.
 Left: Kate's ideal swatch. Right: The surface of the blocked fabric is wavy and undulates.
 After blocking, the surface still does not lie flat.
As we knit, it usually doesn’t really matter how we manage the new stitches being loaded onto our right-hand needle.** Some of us pull them farther to the right after every stitch or two to allow space for more stitches. Alternatively, some knitters keep the stitches close to the right needle point, not pulling them farther along the right needle as frequently. This changes the distance between the newly formed stitches as they sit on the right needle. Most of the time, this doesn’t affect our gauge too much.
For colorwork knitting—also called stranded knitting—the spacing between the new stitches on the right needle can dramatically impact the length and even the consistency of the stranding on the back of the work. The length of the strand or “float” is determined by how spread out or scrunched up the stitches are on the right needle. So, by spacing our new stitches, we change the strands—easy!
 Tip: Spread stitches on the right needle to create strands/floats that are the correct length. This applies when the working yarns are held both in the left or right hands as well.
The goal is to keep the stitches sitting on the right needle at about the same stitch-per-inch gauge you want for the finished fabric. I often keep my stranding just a touch looser to ensure an elastic fabric with a pucker-free finish.
A Friendly Flock to Knit
Knit your own wooly companions with Nancy Bush’s Estonian sheep pattern.
By Kate Larson
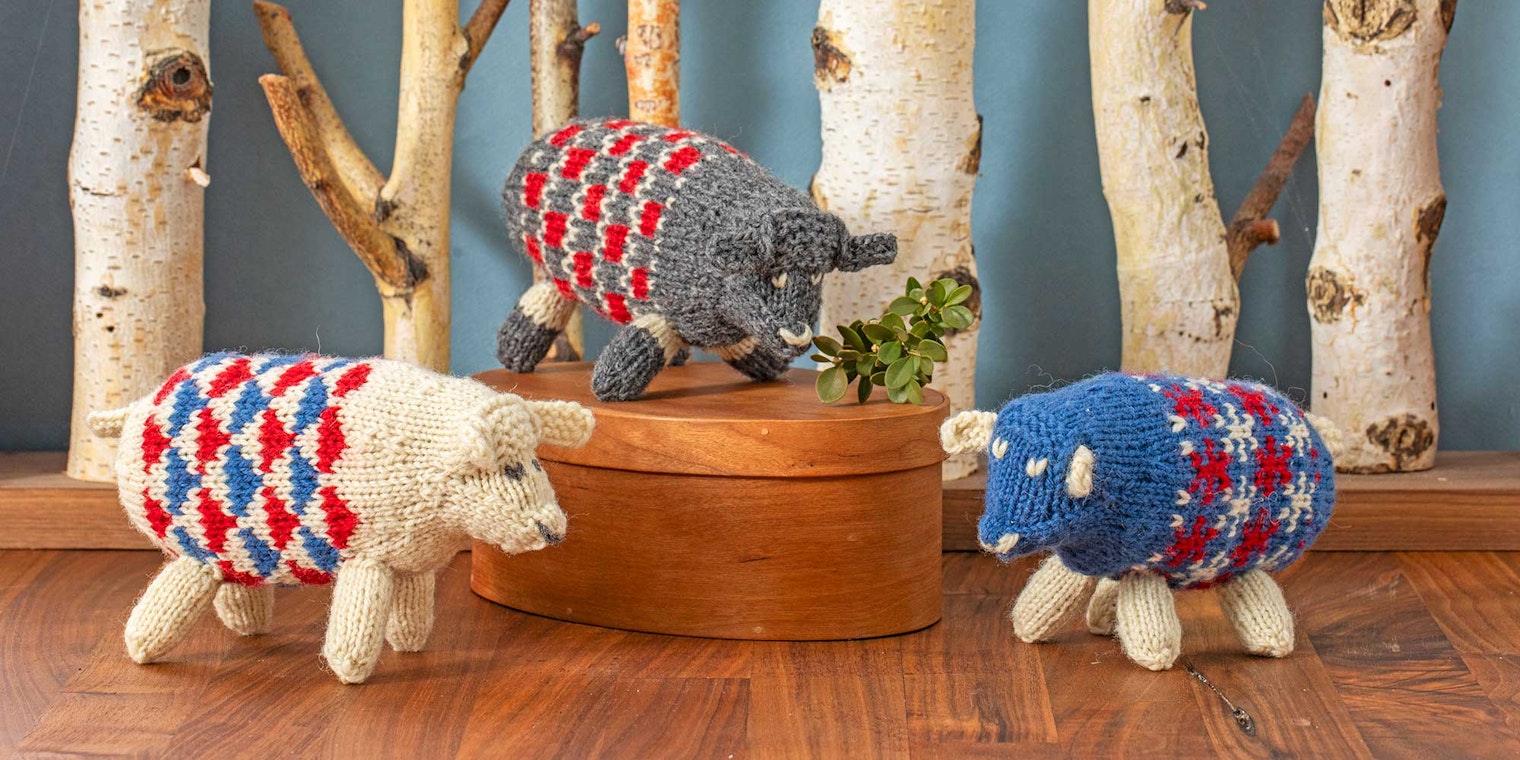
About 10 years ago, I had the great good fortune to travel to Estonia with author Nancy Bush. One of the many amazing stops we made during our visit was at the farm and studio of Anu Raud. Raud is renowned as a weaver, teacher, and preserver of traditional Estonian handcraft.
 Anu Raud’s museum, school, and farm in Estonia. Photo by Kate Larson
I was able to see a trove of antique knitted textiles worked in colorful stranded knitting, stripes, entrelac, and more. Anu Raud uses this collection to inspire her students to incorporate traditional Estonian motif into their modern makes. One of her lessons challenges knitters to pair Estonian stranded-knitting patterns—steeped in cultural meaning—with the playfulness of knitted animals. Stuffed cats and pigs are swathed in bright, wooly stitches usually reserved for mittens!
 Are you ready to get knitting?
A Sheep of One’s Own
In 2003, Nancy Bush added her contribution: a little sheep design published in PieceWork. The pattern offers three different stranded knitting motifs, all of which come from areas not far from Anu Raud’s magical farm in Estonia.
A strong yet lofty wool yarn is ideal for knitting these small sheep, which are about 6 inches long. The sheep shown here are knitted in Brown Sheep Nature Spun sportweight. This round, elastic three-ply yarn is easy to work into a dense fabric, and the loft and crimp in the wool fills in stitches nicely so stuffing will not show through the fabric.
 Nancy’s pattern includes three stitch-motif options.
As a shepherd myself, I’m grateful for Nancy’s ovine contribution to the Estonian-animal menagerie. I can knit a sheep on small needles in a cheerful Estonian palette and think of the day I saw Anu Raud’s own flock resting in a copse of birch trees. I’ll think of seeing Anu weaving in her tapestry studio. And I’ll think of walking through the farm gardens with Nancy on the finest of June afternoons.
—Kate